Fly Tying for Beginners: Getting Started
Estimated read time: 12 minutes
Most fly anglers buy their flies. They walk into a fly shop, pick a selection of proven patterns, and fish them — which works perfectly well. So why tie your own?
The honest answer is that fly tying changes your relationship with the sport in ways that are hard to fully appreciate until you experience them. The first fish you catch on a fly you tied yourself feels different from every fish caught on a shop-bought pattern. Not better in an objective sense — the fish doesn't know or care — but more satisfying, more connected, more yours.
Beyond the satisfaction, tying genuinely makes you a better angler. It deepens your understanding of what flies imitate, why certain materials move a certain way, and how small changes in pattern affect fish response. Tyers look at water differently. They notice insects more carefully. They understand their flies in a way that purely buying them doesn't provide.
And it's more accessible than most people expect. You don't need artistic talent, steady hands, or an expensive setup. You need a handful of tools, some basic materials, and the willingness to tie some ugly flies before you tie good ones. Every experienced tyer started with ugly flies.
This guide covers everything you need to get started: why tying matters, what tools and materials you need, what to tie first, and how to build from there.
Table of Contents
- Why Tie Your Own Flies?
- What Fly Tying Actually Involves
- The Tools You Need
- Essential Materials to Start With
- The Best Flies to Learn First
- Setting Up Your Tying Space
- Learning to Tie: The Best Resources
- Common Beginner Mistakes
- Building Your Skills from Here
- Frequently Asked Questions
Why Tie Your Own Flies?
It Makes You a Better Observer
Fly tying forces you to pay attention to what fish actually eat. To tie a convincing mayfly imitation, you need to understand what a mayfly looks like — its size, profile, colour, how it sits on the water. This observation habit transfers directly to the river: tyers notice hatches, identify insects, and understand what's happening on the water at a level that purely shop-buying fly anglers often don't.
You Understand Your Flies Differently
When you tie your own flies, you understand exactly why each material is used. You know that marabou is used for tails and streamers because of how it pulses in water. You know that deer hair floats because of its hollow structure. You know that the palmered hackle on a dry fly creates the surface tension that keeps it afloat. This understanding shapes how you fish the fly — how you present it, how you retrieve it, when you trust it and when you switch.
You Can Adapt and Experiment
Shop-bought flies come in fixed patterns. Tying your own means you can adjust — tie a Woolly Bugger with a bead instead of without, change the tail length, substitute a different hackle colour, add rubber legs. These small experiments, logged and tested on the water, generate genuine insight into what triggers fish in your specific conditions. It's the difference between following someone else's recipe and cooking from first principles.
Cost Savings Are Real
A dozen shop-bought flies costs $15–$25. The materials to tie the same dozen cost $2–$4 once you have a basic materials stock. The upfront investment in tools and materials pays back quickly for any angler who fishes regularly and loses flies to snags, fish, and general attrition.
It's Genuinely Enjoyable
Fly tying is a craft. There's real satisfaction in producing a well-tied fly — a neat head, even hackle wraps, proportions that look right. Many tyers find it a meditative, enjoyable activity in its own right, separate from the fishing. It extends the season: on winter evenings when fishing is slow, tying keeps you connected to the sport and the water.
The First Fish on a Self-Tied Fly
This deserves its own mention. The first time a fish eats a fly you tied — particularly a selective fish on a difficult day — it's a disproportionately satisfying moment. It adds a dimension to fly fishing that you can't access by buying flies. Every serious fly angler who ties remembers their first fish on a self-tied pattern.
What Fly Tying Actually Involves
Before getting into tools and materials, it helps to understand the basic process — what you're actually doing when you tie a fly.
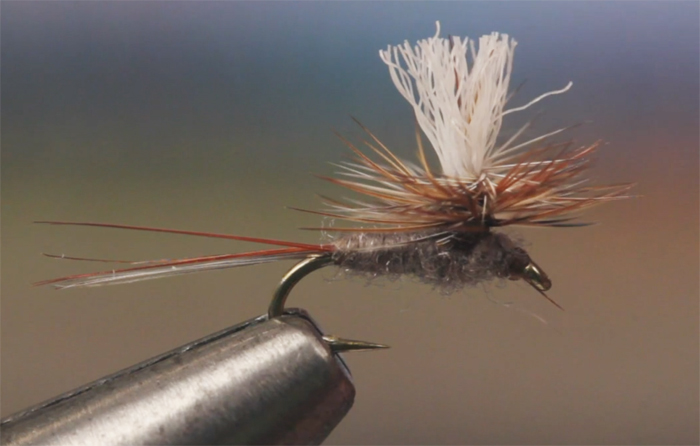
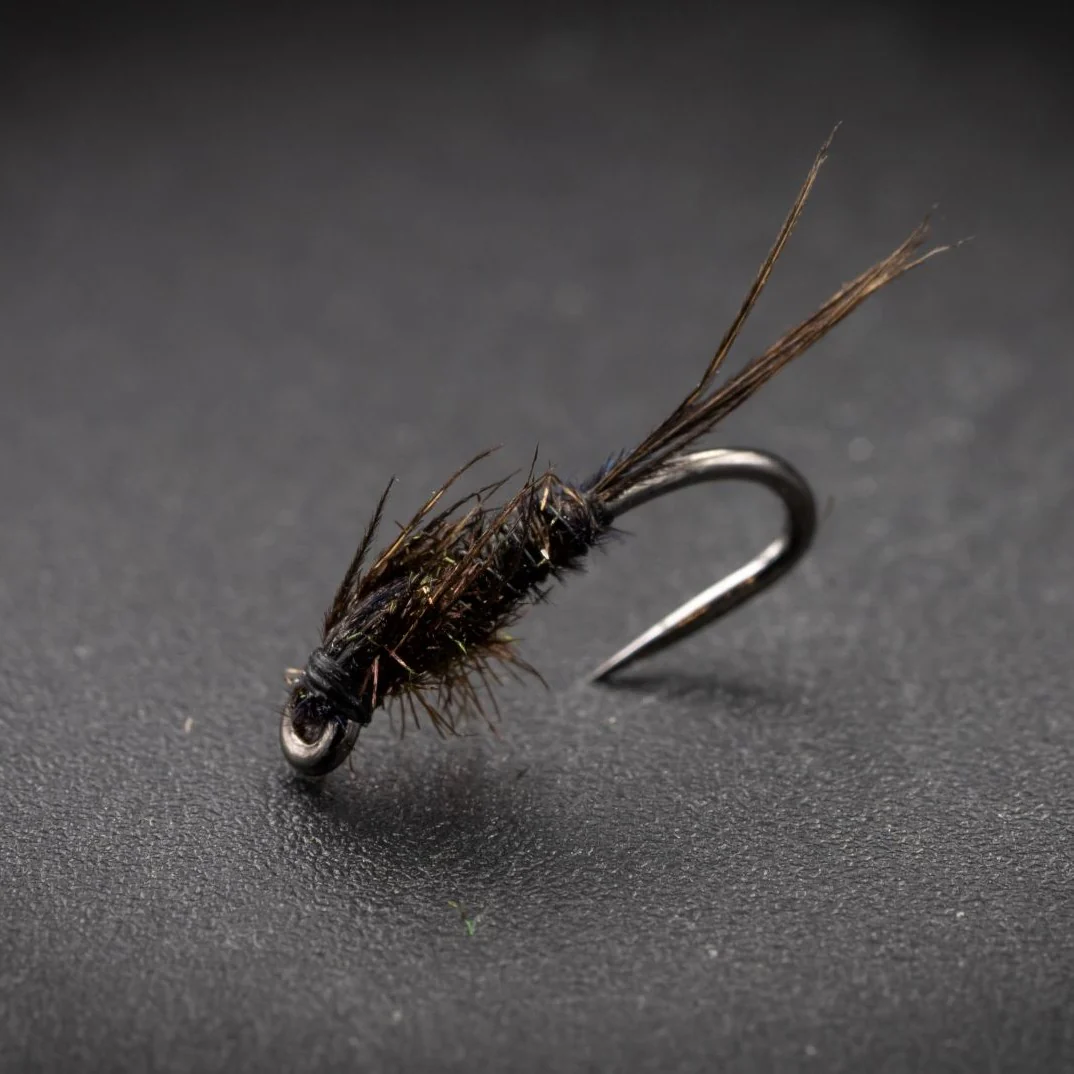
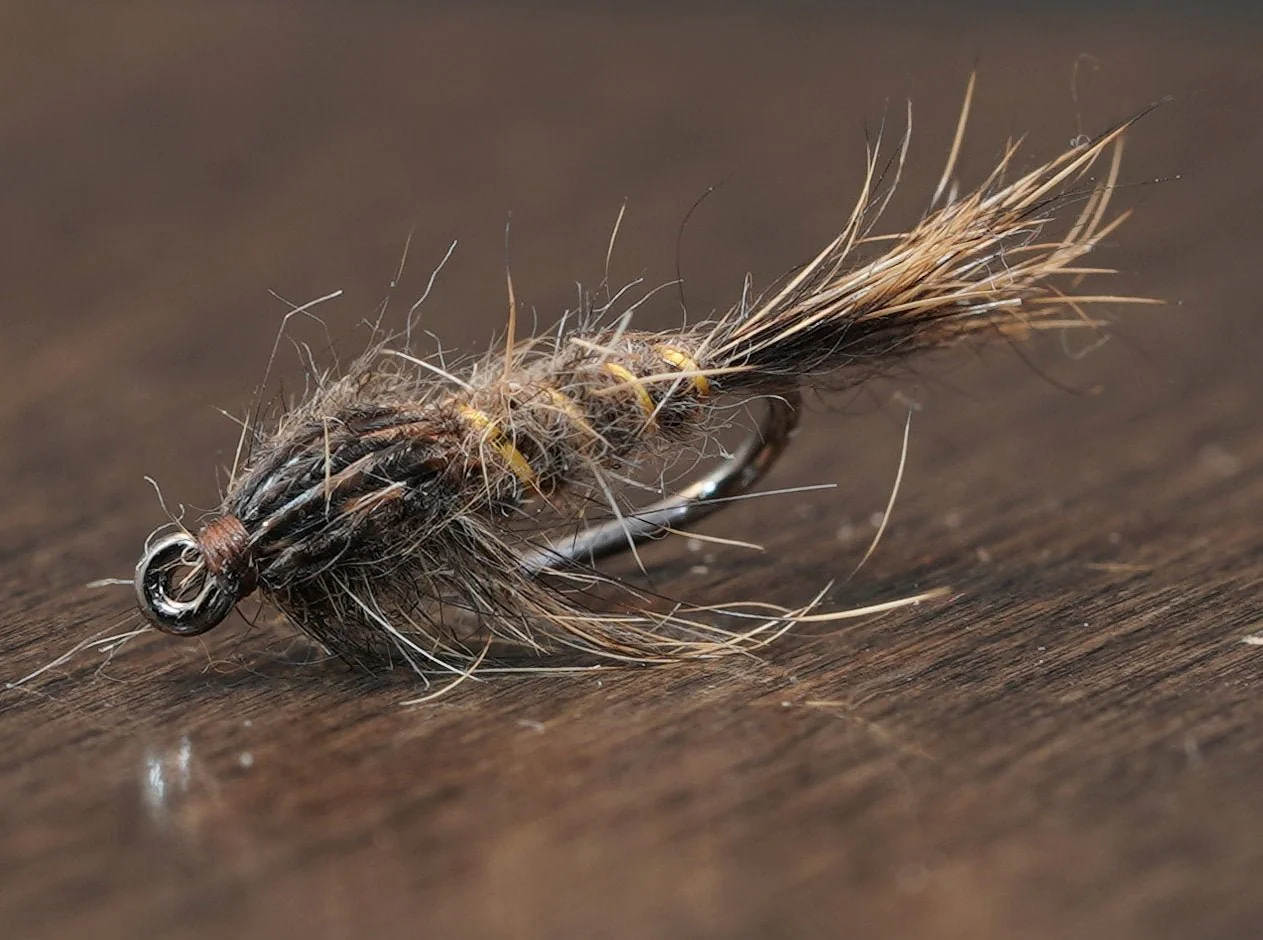
Fly tying is the process of attaching materials to a hook using thread to create an imitation of a fish's natural food. The hook is held in a vise. Thread is wrapped to create a base and to secure materials. Materials — feathers, fur, synthetic fibres, wire, foam — are tied in at various points along the hook shank to create the body, tail, wing, and head of the fly. The thread is finished with a whip finish knot and sealed with head cement.
That's it in its simplest form. A Woolly Bugger — one of the most effective fly patterns ever created — consists of a marabou tail, a chenille body, and a palmered hackle. Three materials, a hook, and thread. It takes about five minutes to tie once you know what you're doing.
The complexity increases as you progress — intricate dry fly patterns with precise proportions, multi-material nymphs, articulated streamers — but the fundamental skills of thread control, tying in materials, and finishing the head remain the same throughout.
Source: jsflyfishing.com
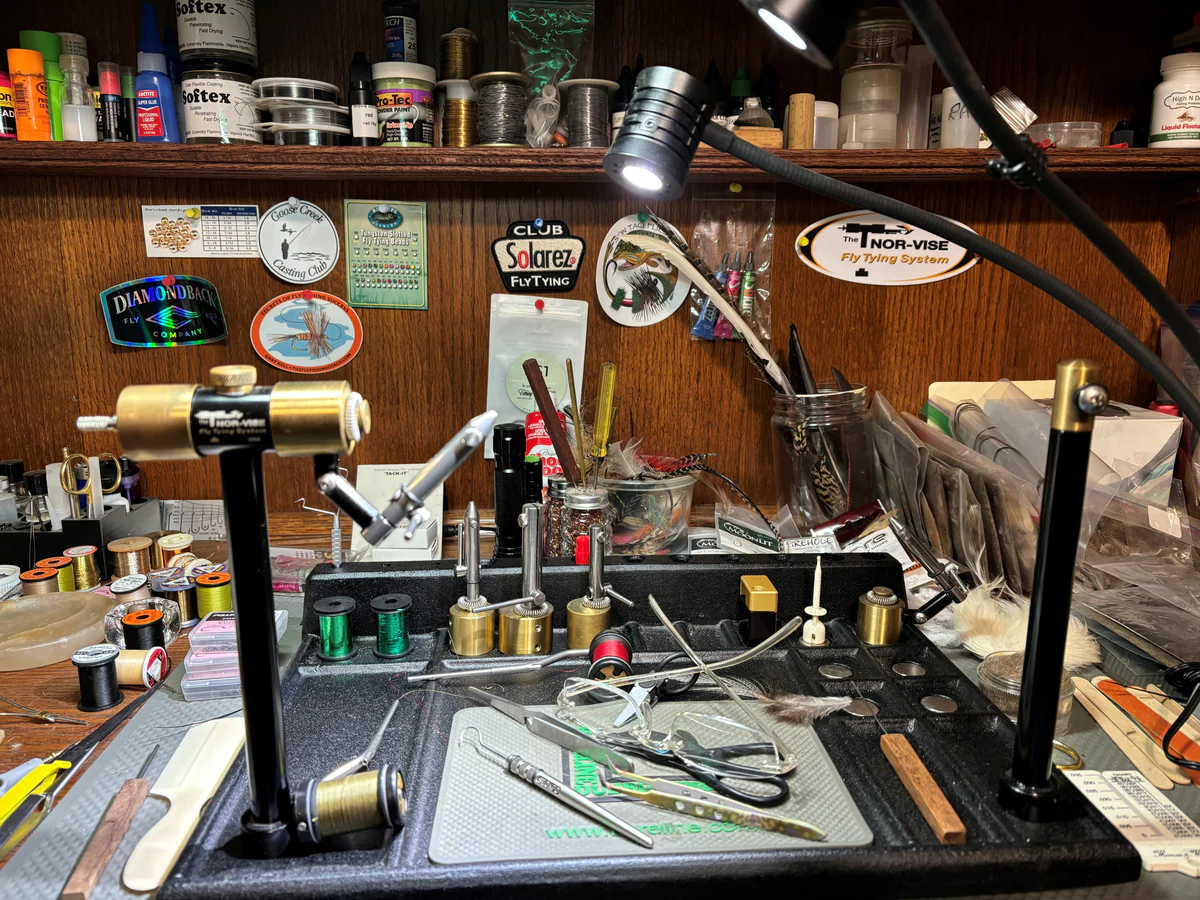
The Tools You Need
You need six tools to tie flies. Everything else is optional.
- Fly tying vise — holds the hook while you tie. The most important tool. Invest here before anywhere else.
- Bobbin — holds the thread spool and controls thread delivery
- Scissors — fine-tipped, sharp. Not household scissors.
- Hackle pliers — grips feather tips for palmering
- Whip finisher — ties the finishing knot on every fly
- Head cement or UV resin — seals the finished head
A functional starter kit covering all six tools costs $60–$100. A recommended mid-range kit built around a rotary vise runs $150–$200 and will last years.
→ Full breakdown of every tool, what to look for, and specific recommendations at every budget: Fly Tying Tools for Beginners: Everything You Need to Get Started
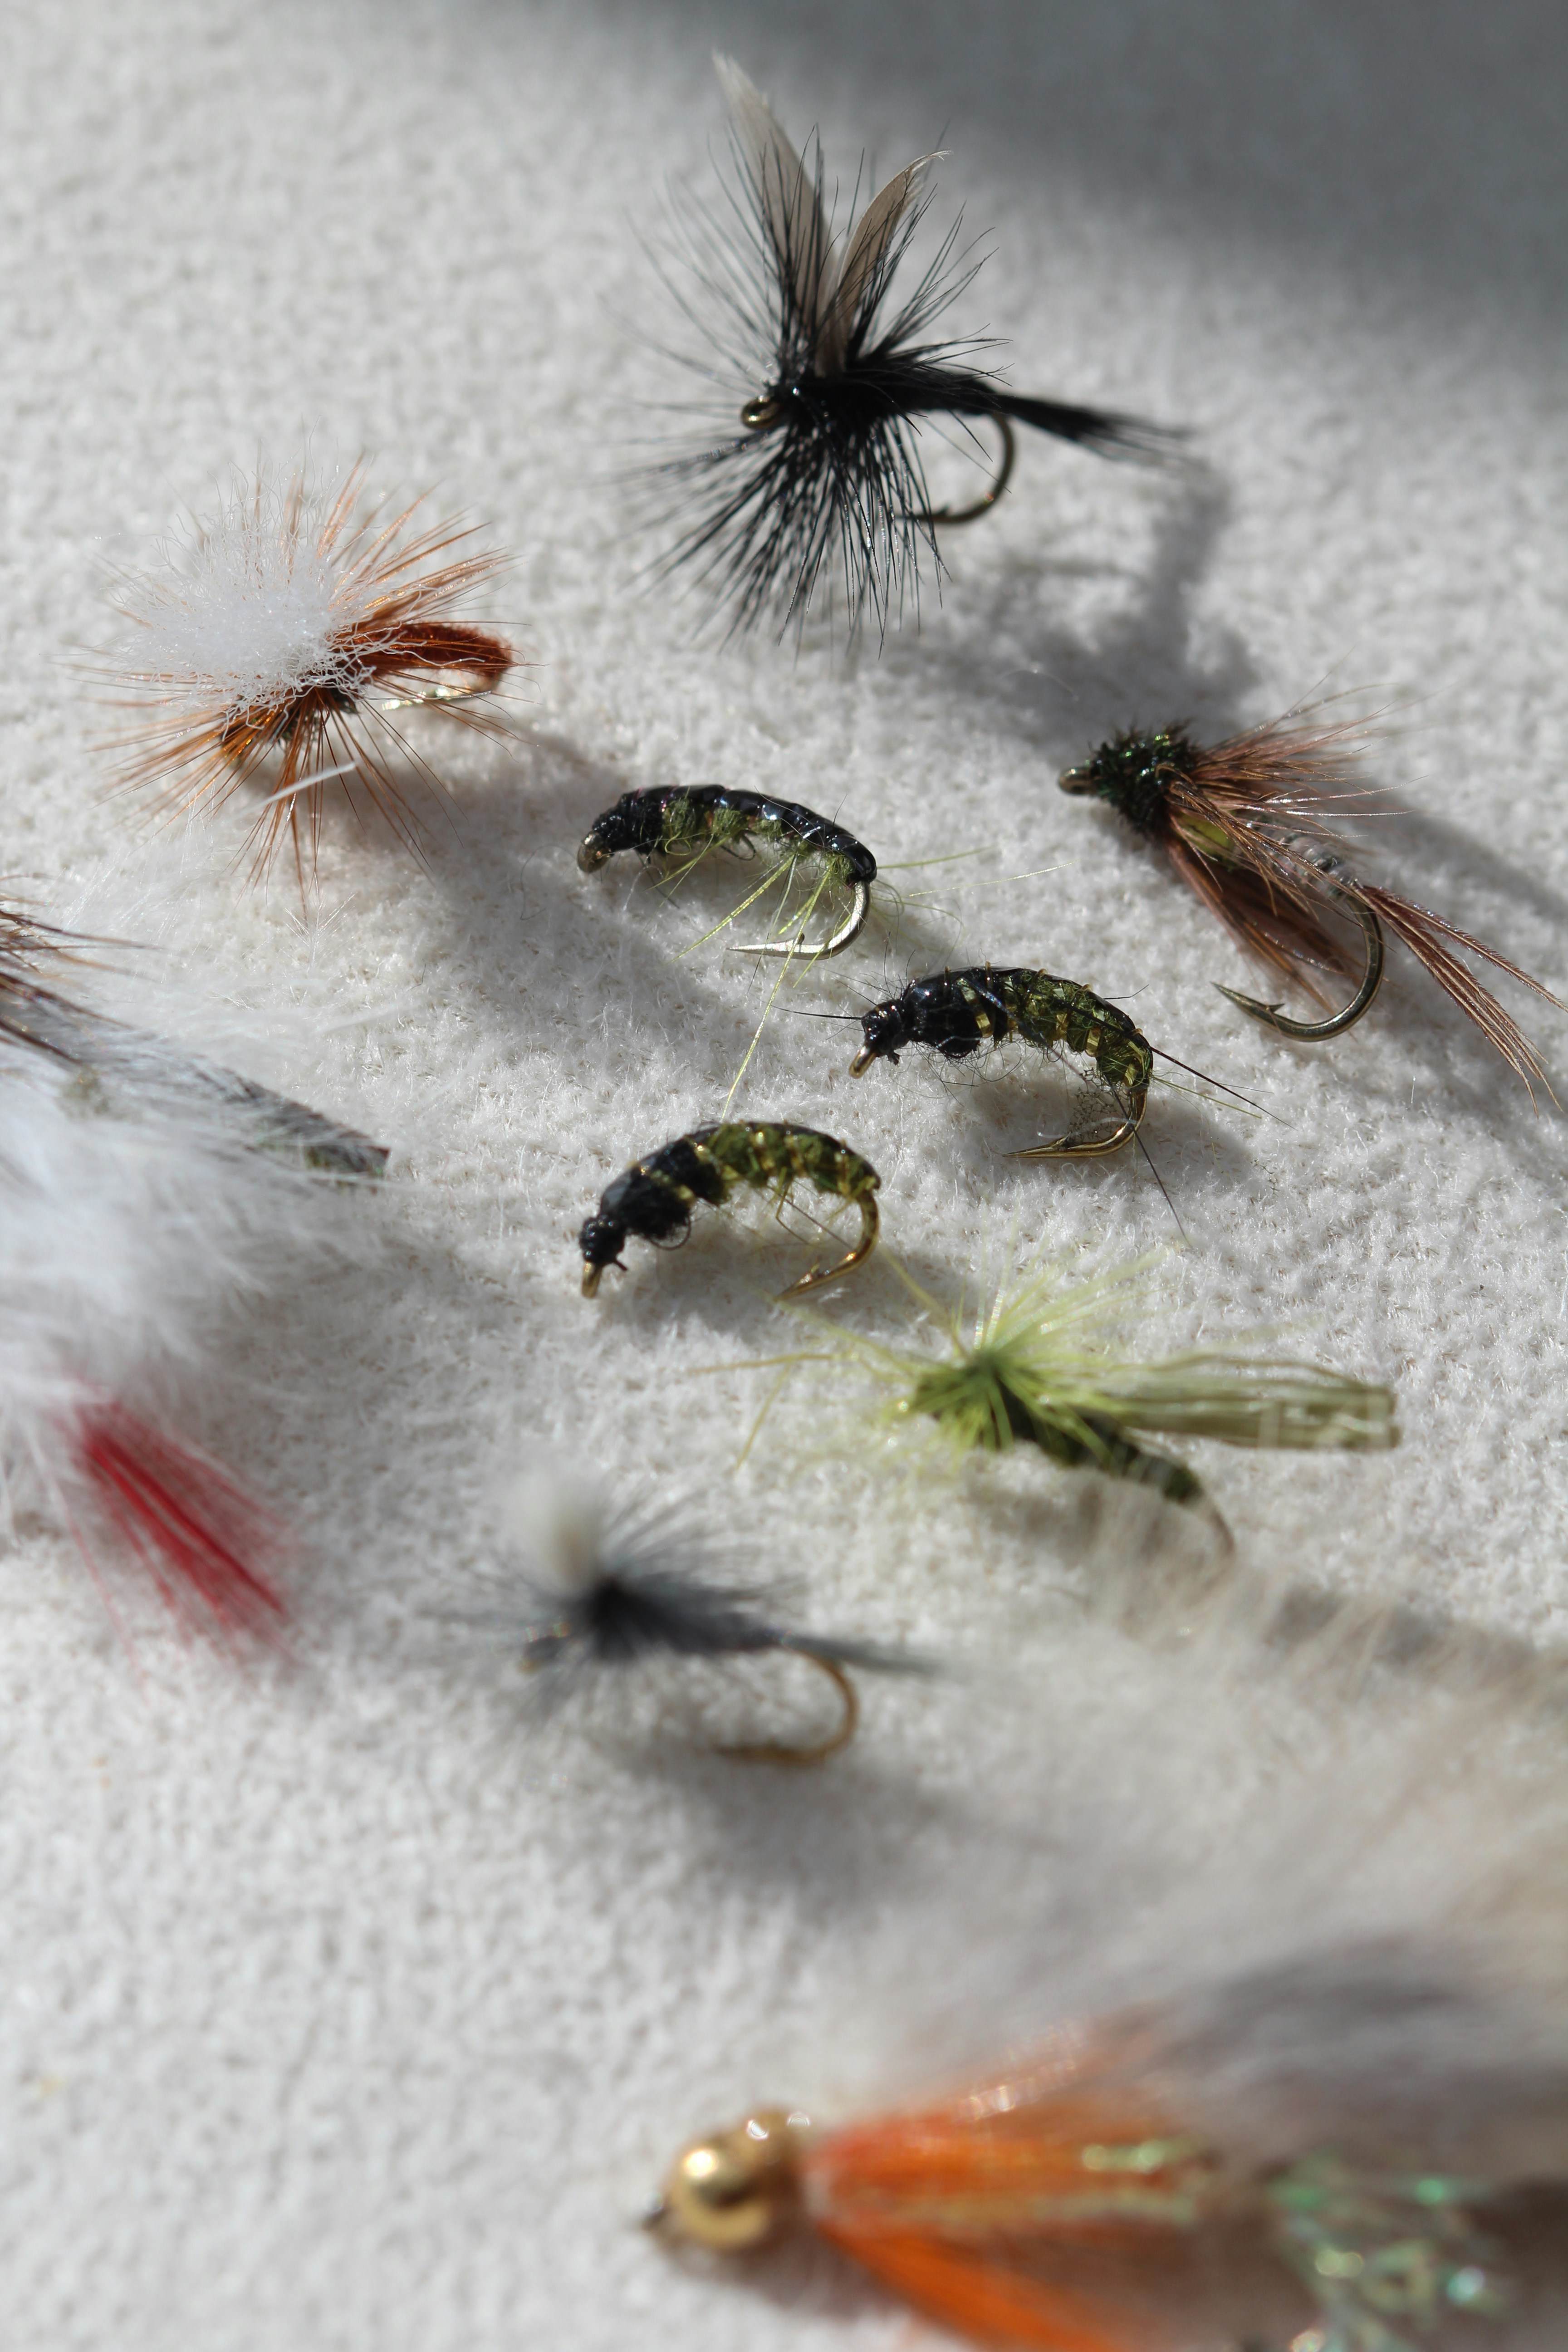
Essential Materials to Start With
Fly tying materials is a category you can spend indefinitely on. Don't. Start with the minimum needed to tie three or four versatile patterns — you can expand from there as your tying develops.
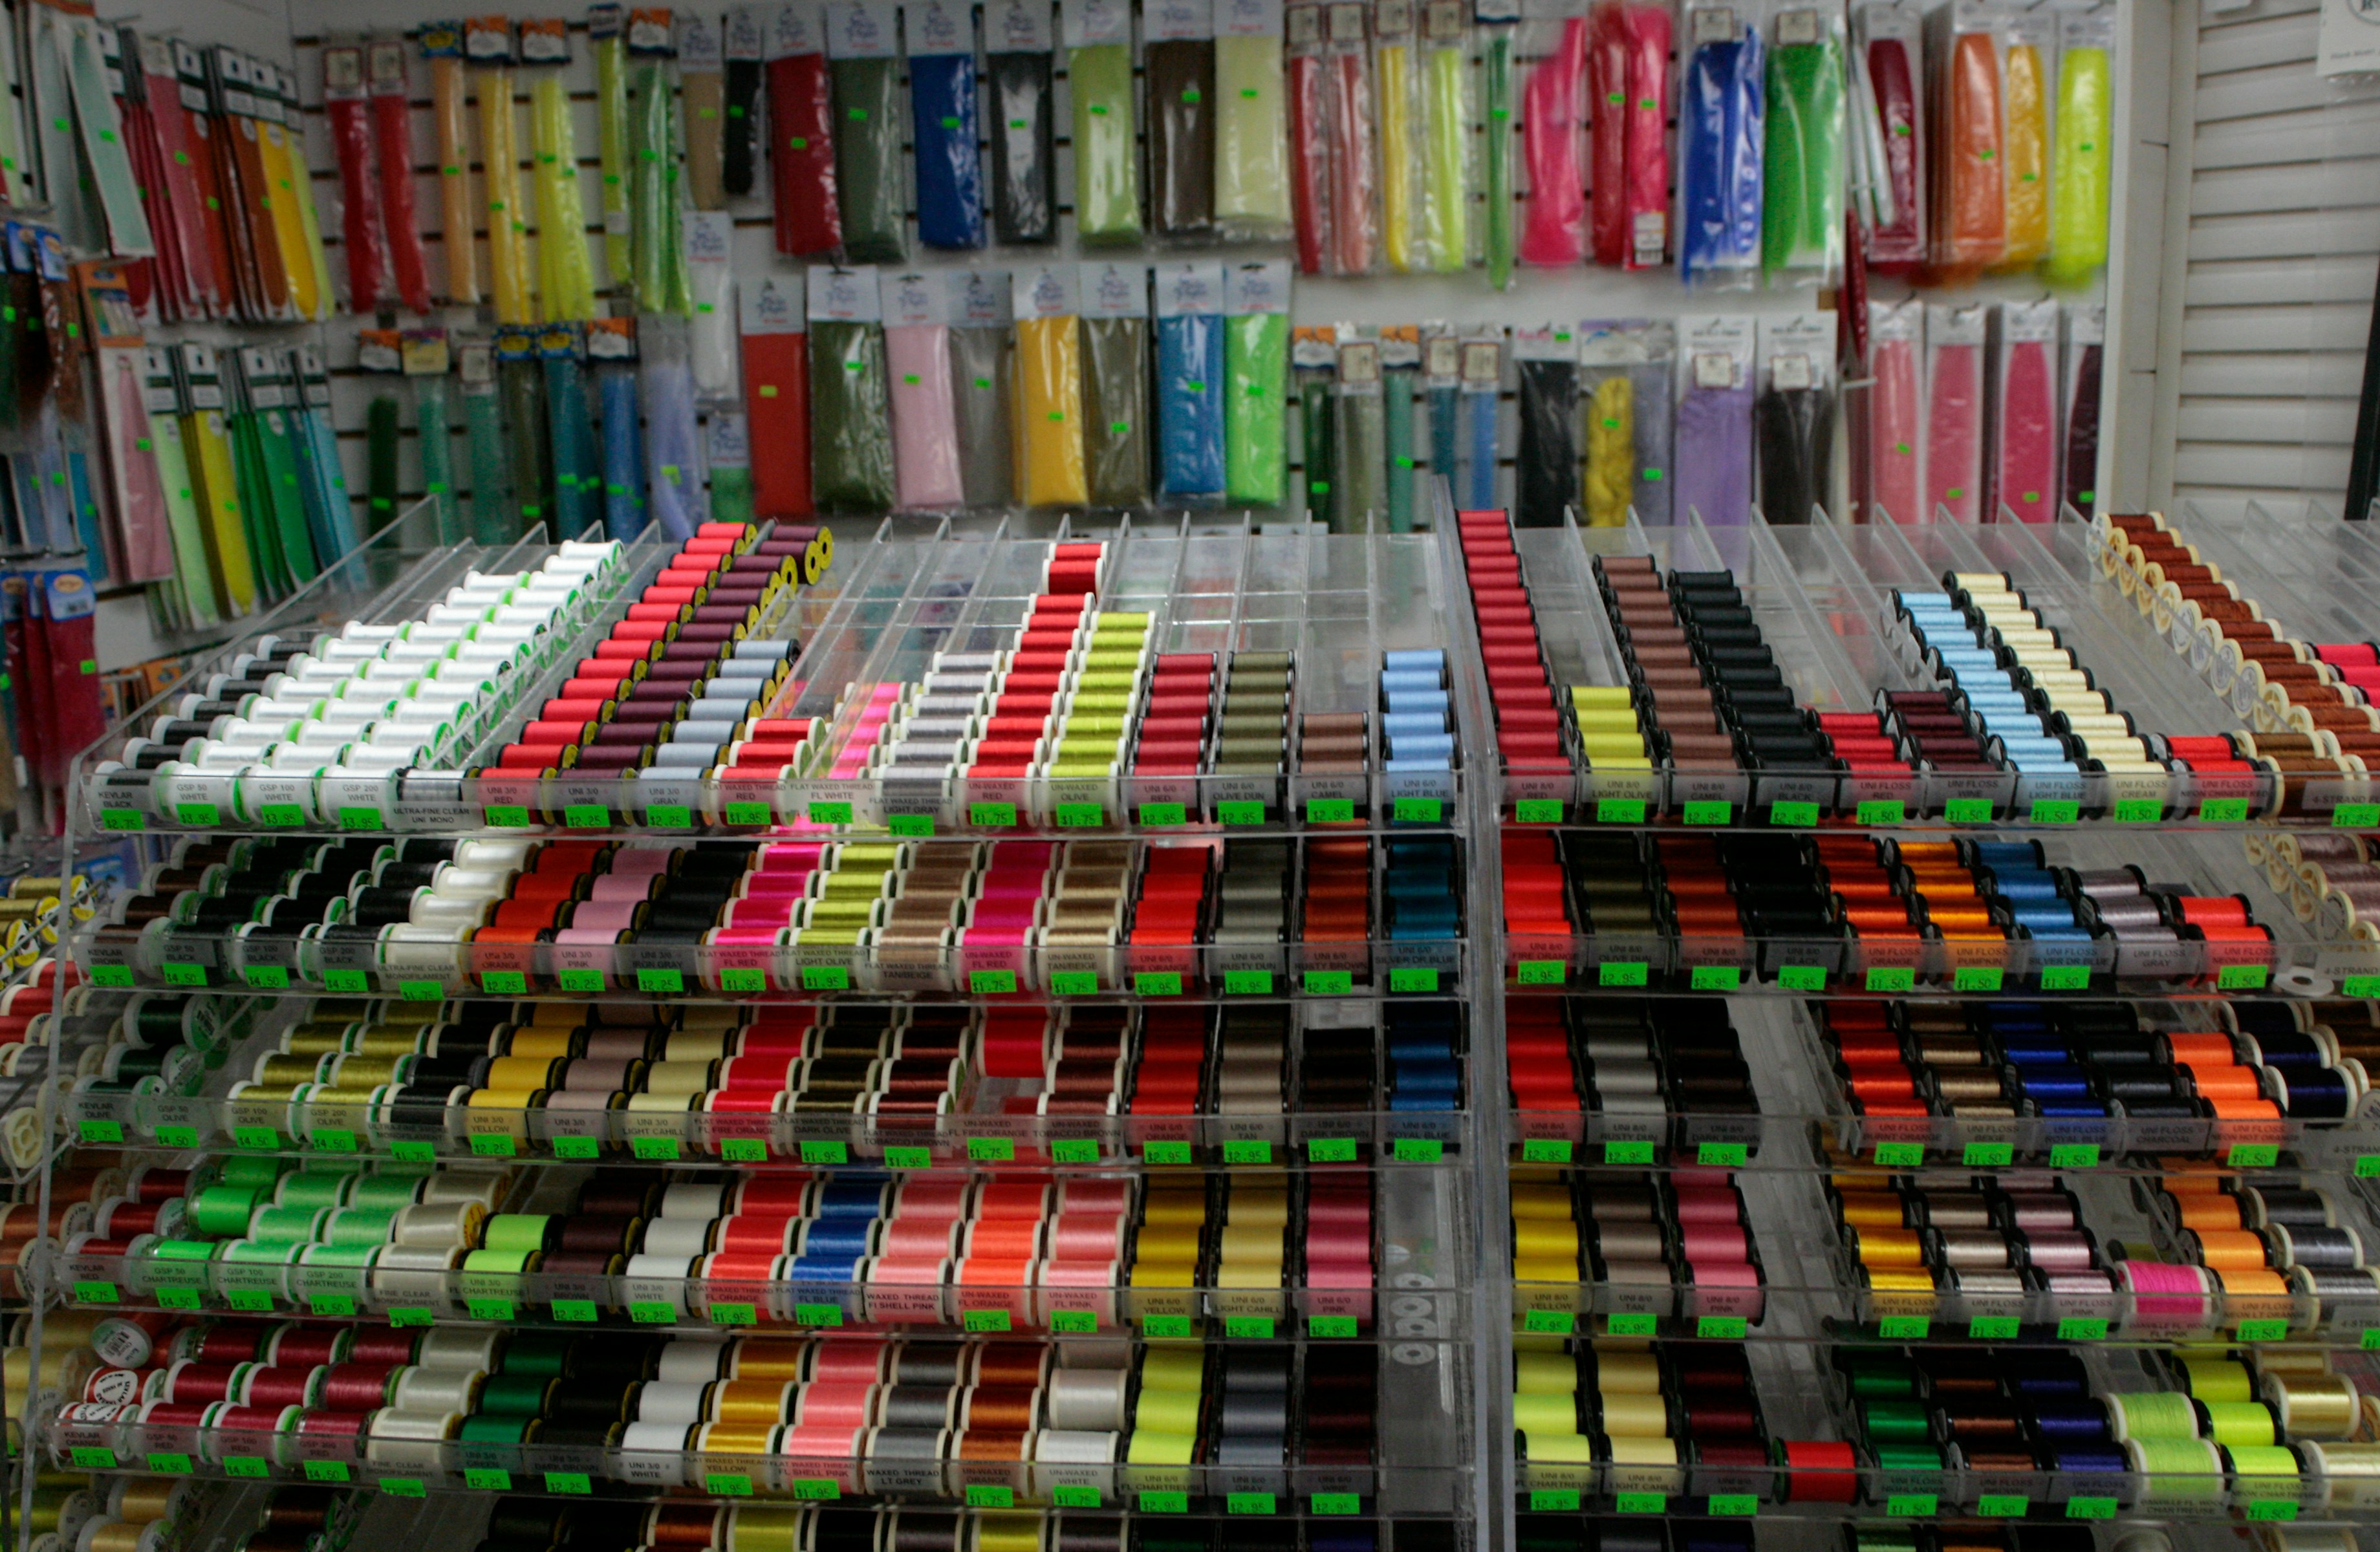
The Starter Materials List
Thread: 6/0 in black and olive covers the majority of patterns. UNI-Thread and Veevus are both excellent, affordable options.
Hooks: streamer hooks (size 6–10, 3XL) for Woolly Buggers; dry fly hooks (size 14–18) for basic dry flies; nymph hooks (size 12–16) for Hare's Ear and Pheasant Tail. Tiemco, Mustad, and Gamakatsu are all reliable brands.
Marabou feathers: black and olive for Woolly Bugger tails and streamer bodies. Buy quality — cheap marabou has poor fibre structure and doesn't move well in water.
Chenille: medium size, black and olive. For Woolly Bugger bodies.
Saddle hackle: black and brown, soft and webby. For palmering on Woolly Buggers and wet flies.
Hare's ear dubbing: a natural, textured dubbing material for nymph bodies. One of the most versatile materials in fly tying.
Pheasant tail feathers: for Pheasant Tail nymph fibres and tails. A single feather goes a long way.
Copper wire: fine, for ribbing nymphs and adding durability.
Deer hair: natural and dyed, for dry fly wings (Elk Hair Caddis) and bass bugs.
Brass or tungsten beads: sized for hook sizes 8–14, for beadhead nymph and Woolly Bugger variants.
Krystal Flash: a few packs of silver and pearl for adding flash to streamers and tails.
Total materials cost for a basic starter selection: $50–$80, depending on brand and quantity. Most materials last a very long time — a pack of hooks, a spool of thread, or a bag of dubbing tied regularly can last a full season or more.
Where to Buy Materials
Local fly shops: the best option if one is available. You can see and handle materials before buying, get advice on what's appropriate for local fishing, and support the local fly fishing community.
Online retailers: Trident Fly Fishing, Fly Tyer's Dungeon, and similar online retailers stock a comprehensive range at competitive prices. Good for bulk orders once you know what you need.
Natural materials: feathers and furs from game birds can often be sourced locally — pheasant, partridge, and various waterfowl provide excellent tying materials. If you or someone you know hunts, ask about saving relevant feathers and skins.
The Best Flies to Learn First
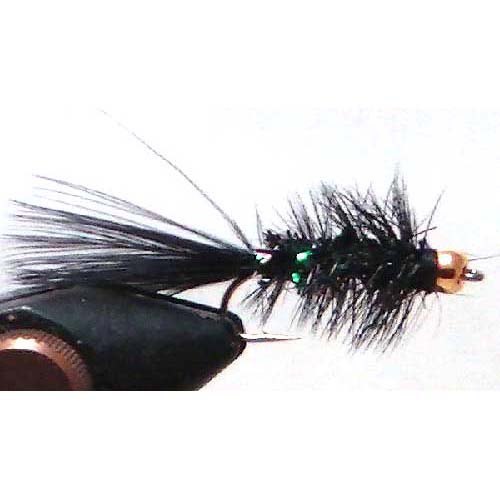
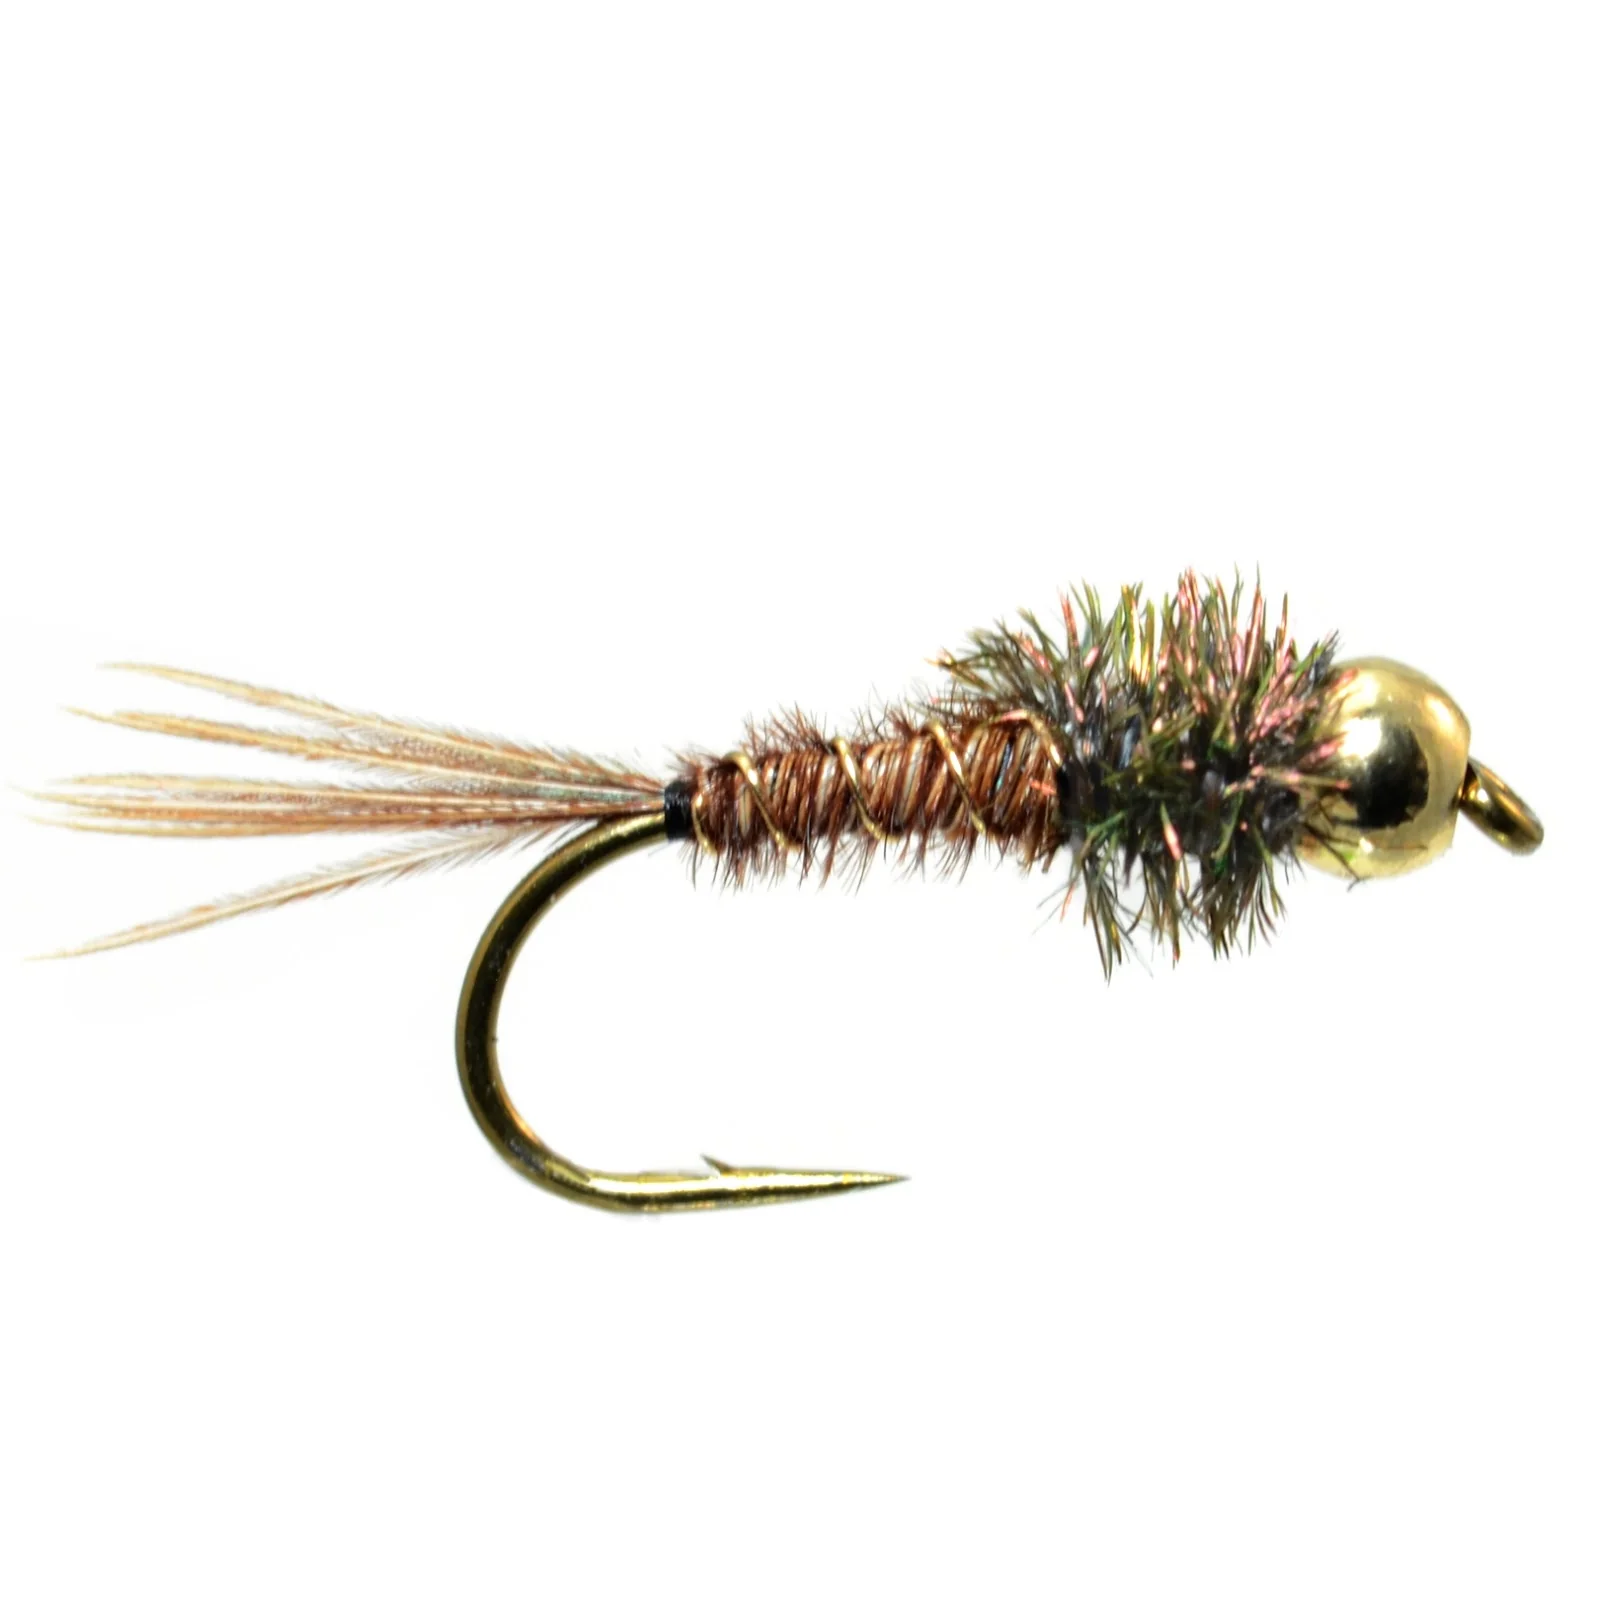
1. The Woolly Bugger
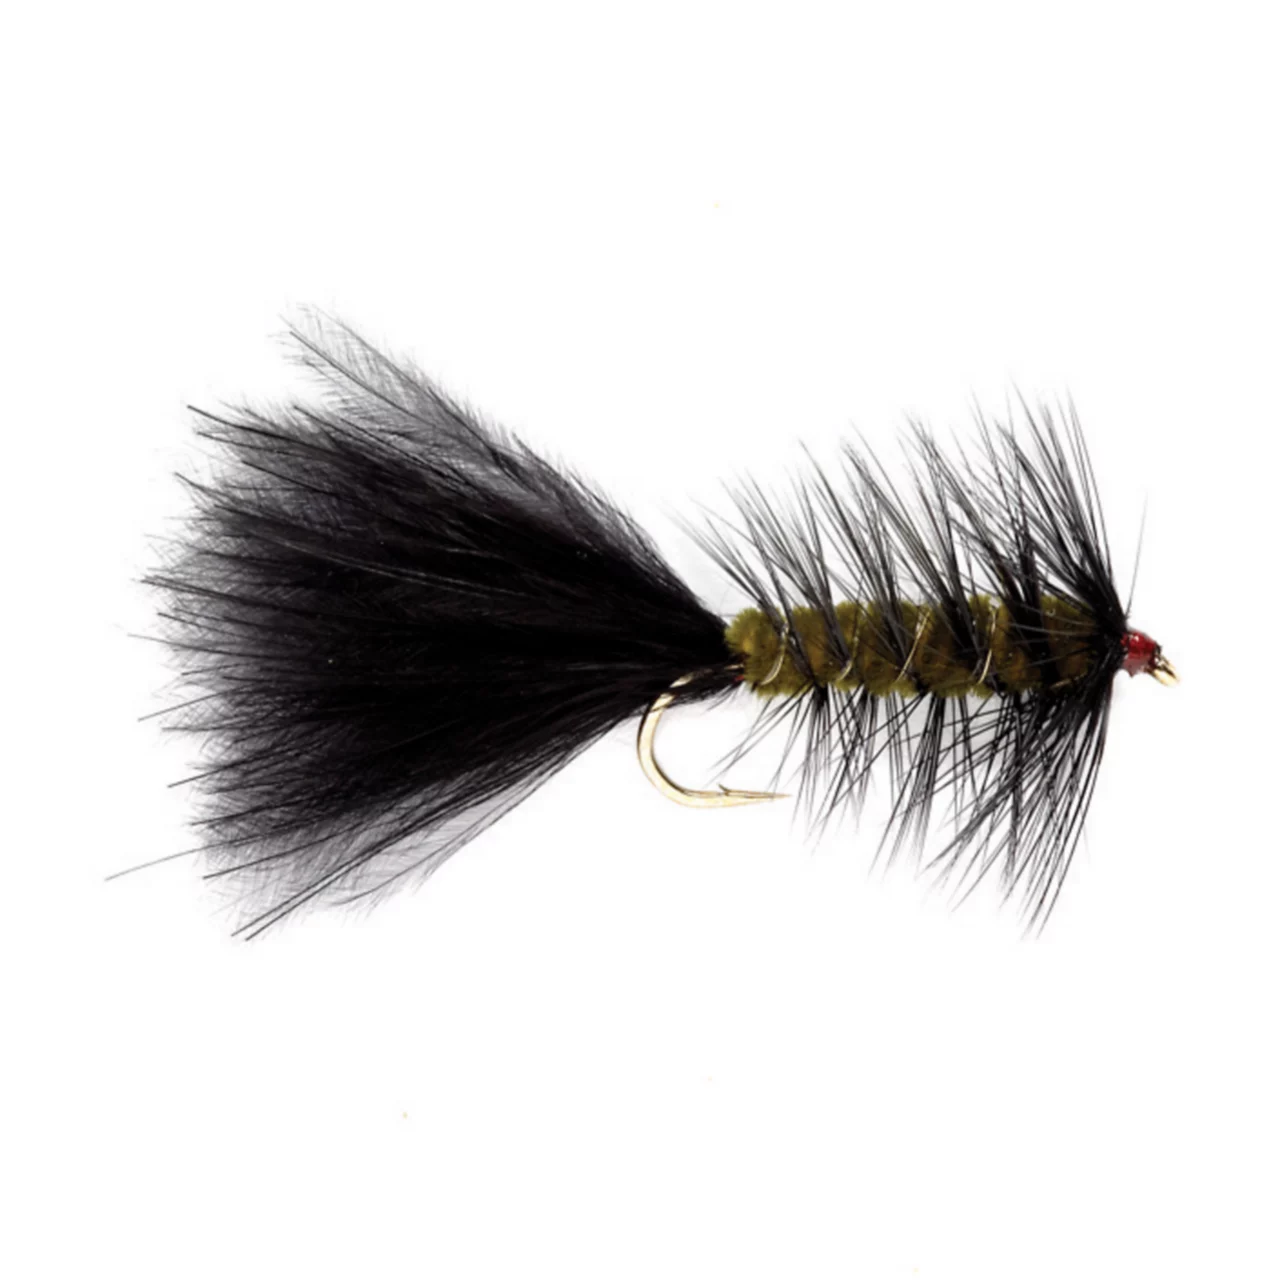
Source: orvis.com
The perfect first fly. It's forgiving — proportions don't need to be precise to catch fish. It teaches core skills: thread control, tying in marabou, wrapping chenille, palmering hackle. And it's devastatingly effective on trout, bass, yellowfish, and almost every other freshwater species.
Tie it first. Tie it in black. Then tie it in olive. Then try the beadhead variant. By the time you've tied a dozen Woolly Buggers you'll have mastered the foundational skills that transfer to almost every other pattern.
→ Step-by-step instructions and video: How to Tie the Woolly Bugger: The Complete Guide
2. The Hare's Ear Nymph
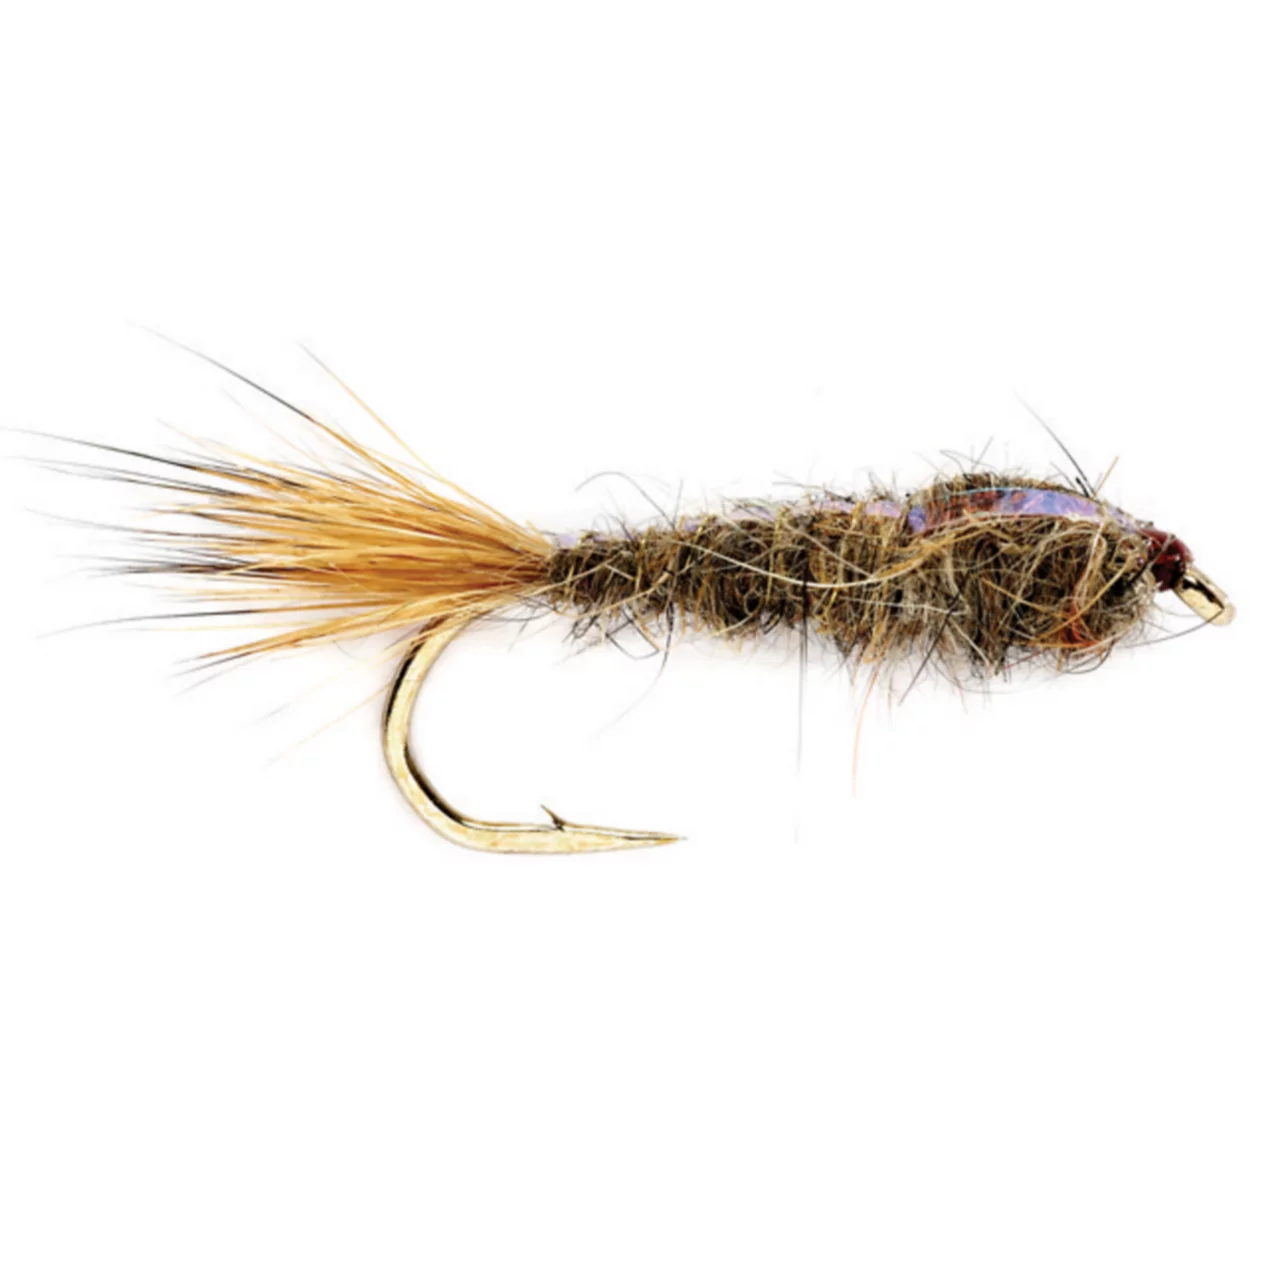
Source: orvis.com
The most universally effective nymph pattern in the world. Teaches dubbing — applying and wrapping fur to create a textured body — which is a foundational skill for nymph tying. The Hare's Ear is relatively forgiving and its slightly rough, impressionistic profile is part of what makes it so effective.
Tie it in size 14 and 16. Add a copper wire rib for durability and flash. Once you're comfortable with the basic pattern, try the beadhead variant.
→ Step-by-step instructions and video: How to Tie the Hare's Ear Nymph
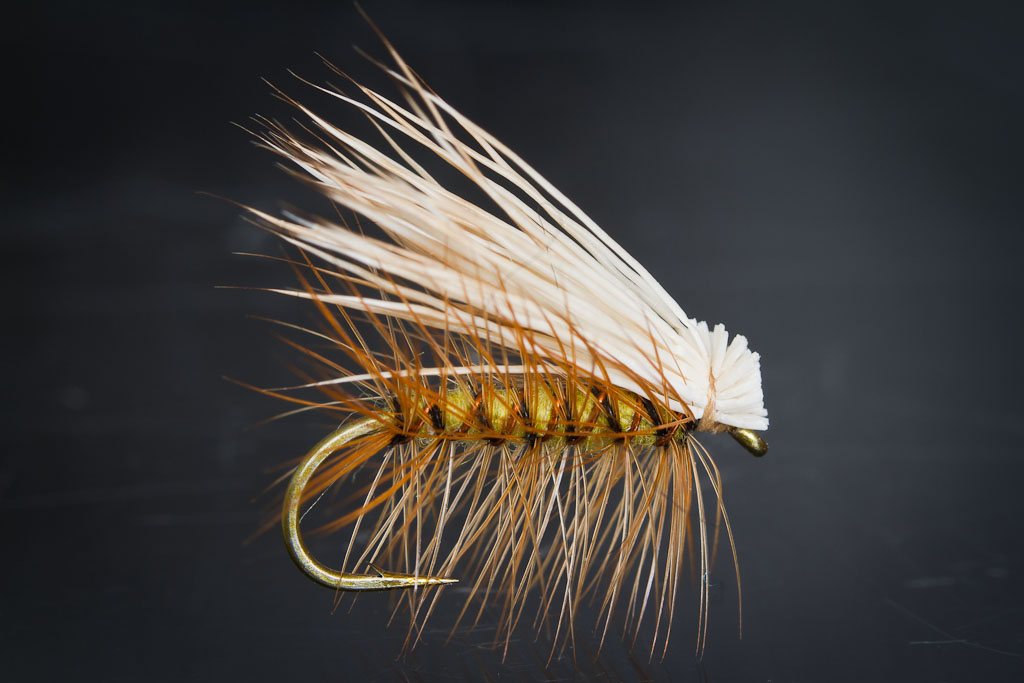
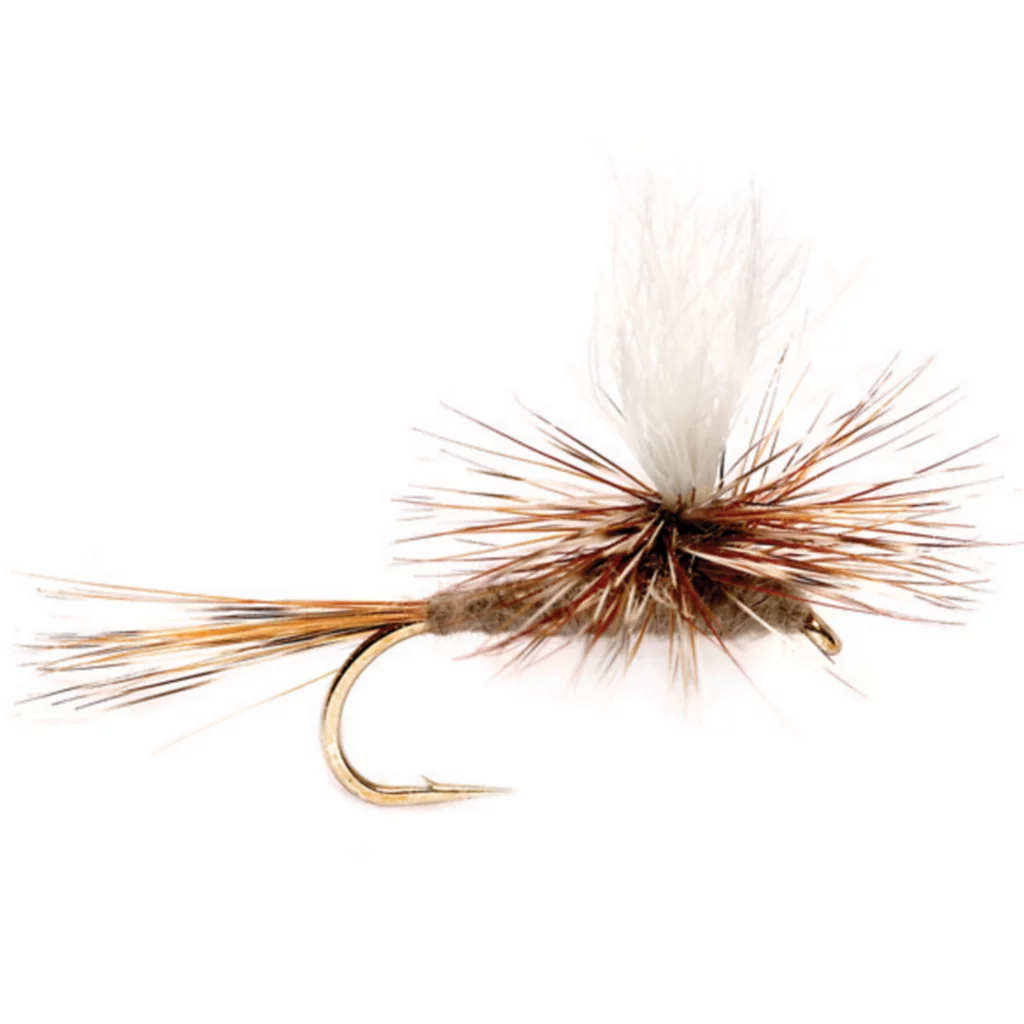
3. The Elk Hair Caddis
Source: mossycreekflyfishing.com
Your first dry fly. Teaches hair wing dry fly construction — stacking deer or elk hair for even tips, tying it in as a wing without flaring, building a neat hackle. The Elk Hair Caddis is buoyant, visible, and effective on almost any river with caddis activity — which is most of them.
Dry fly tying is more precise than nymph or streamer tying — proportions matter more and thread control needs to be tighter. Start with a larger size (12 or 14) where there's more room to work.
→ Step-by-step instructions and video: How to Tie the Elk Hair Caddis
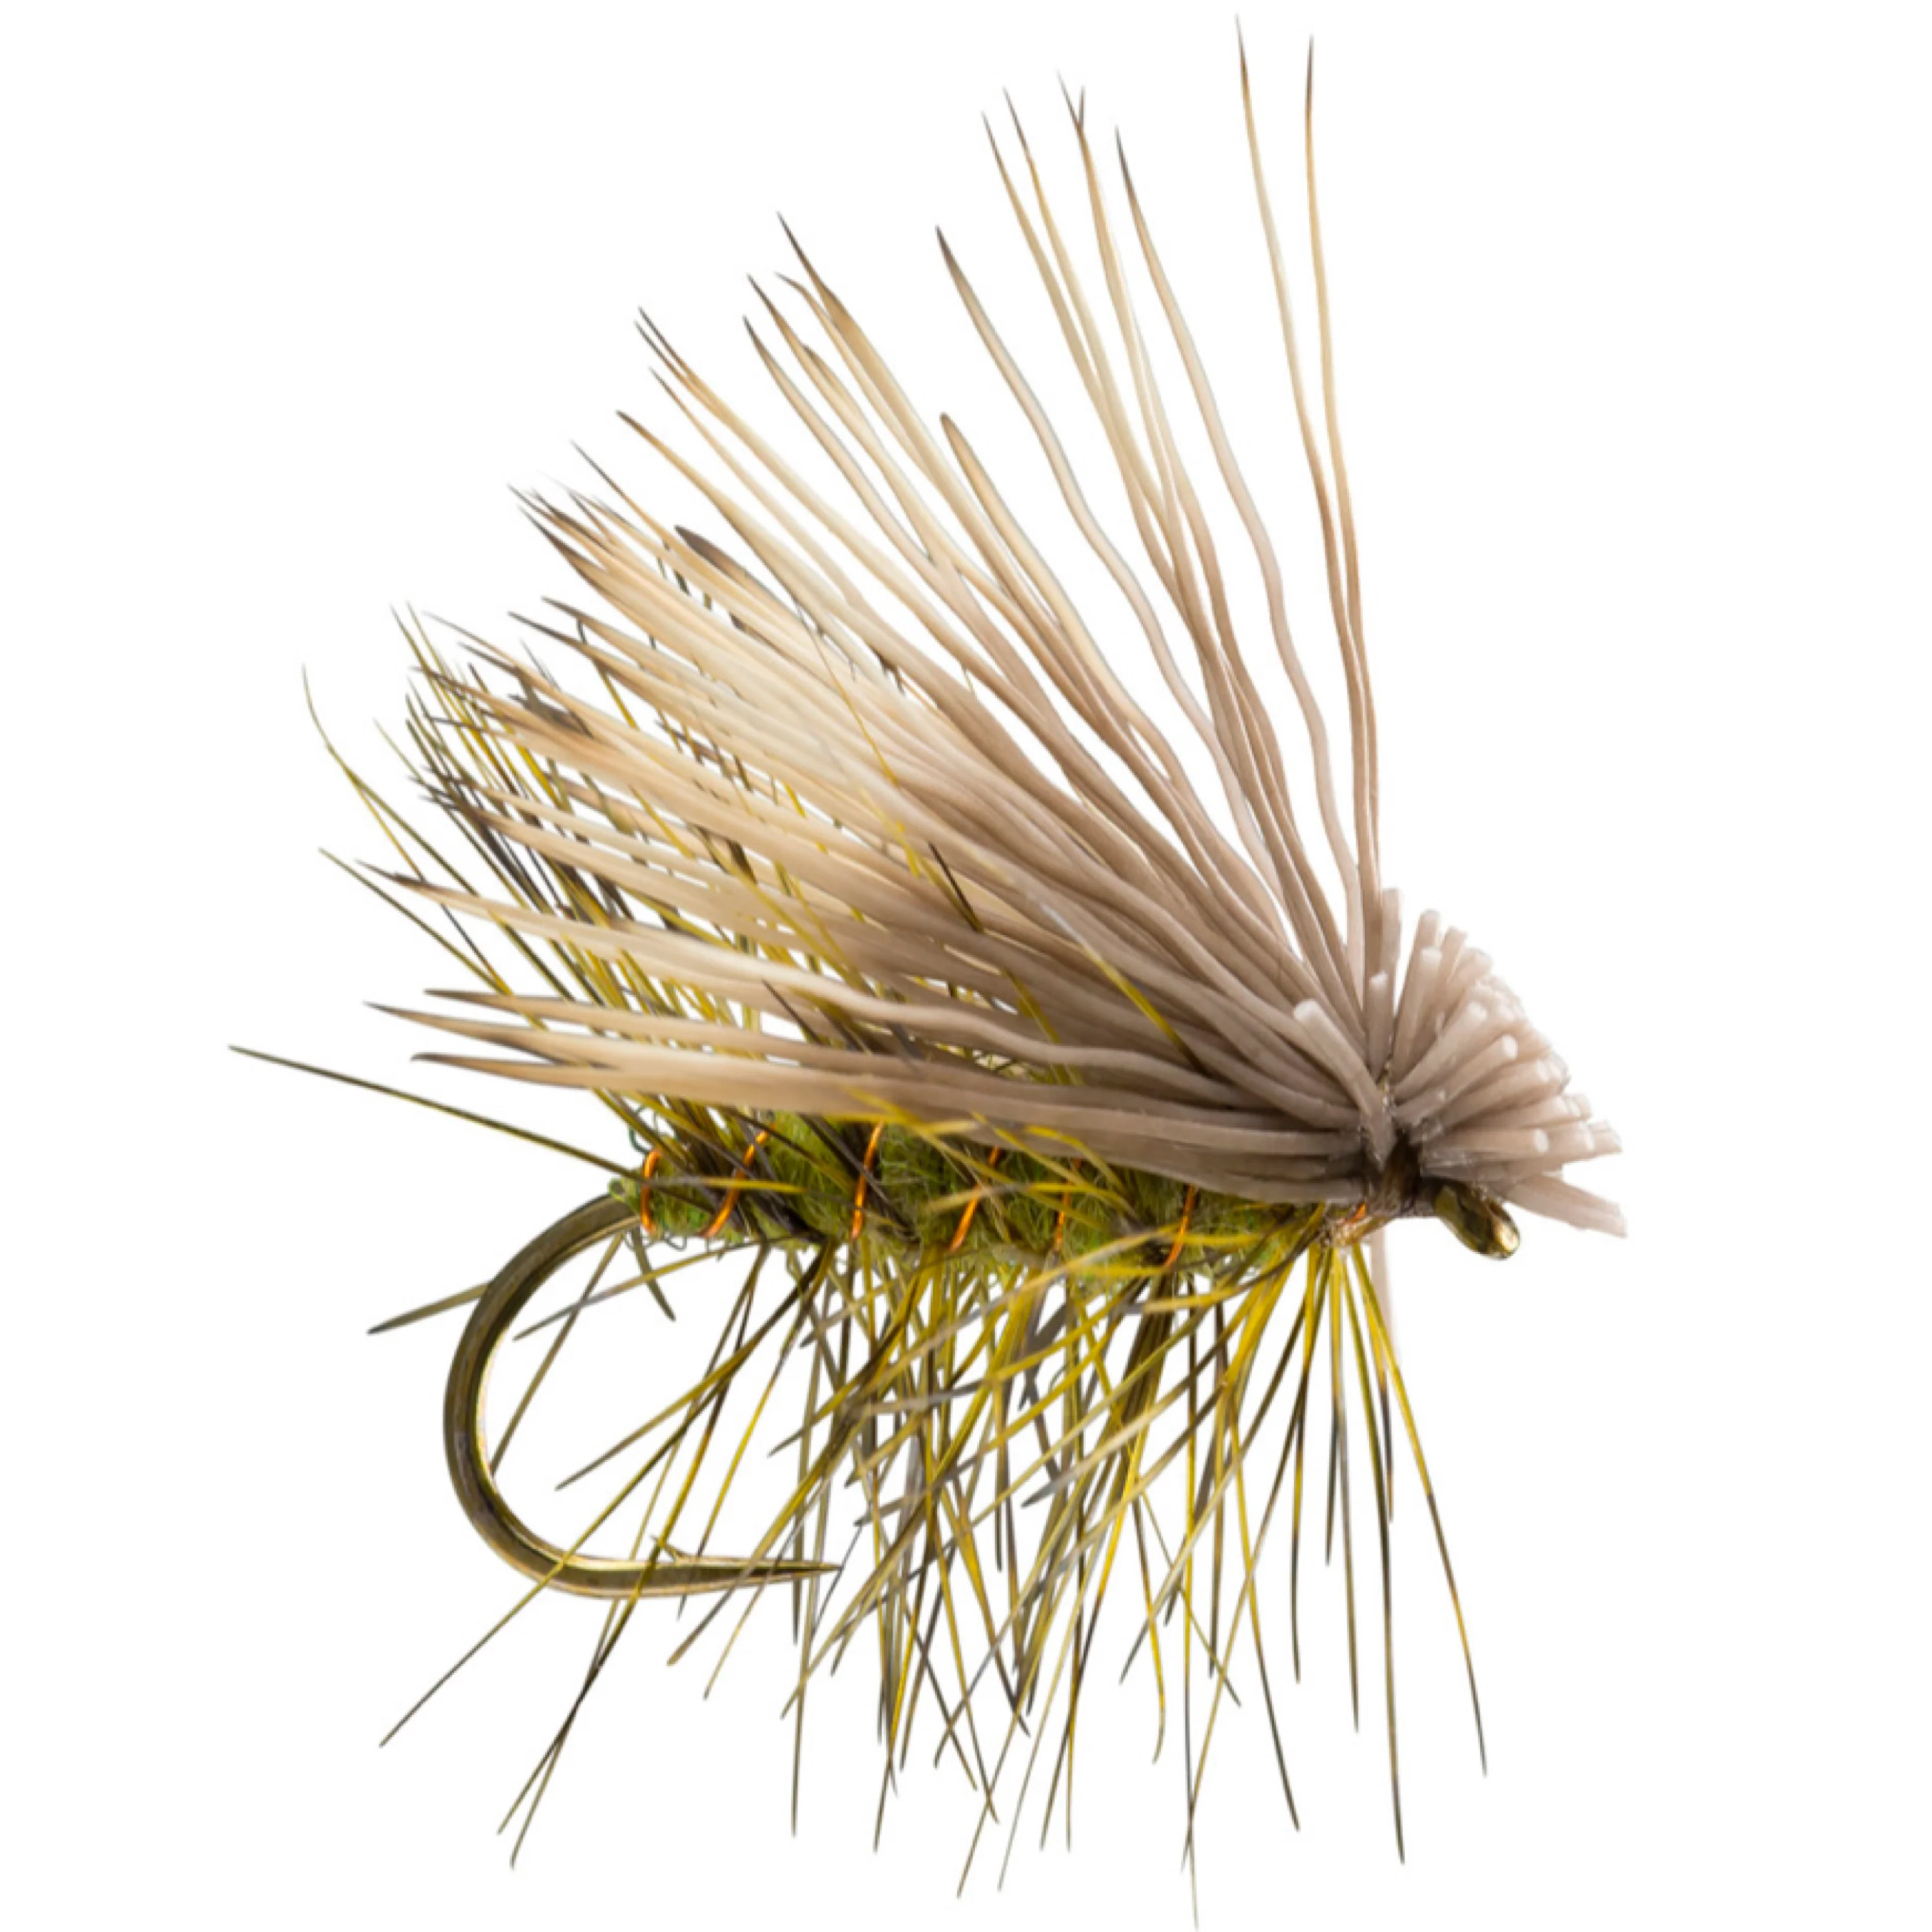
4. The Pheasant Tail Nymph
Source: flyfishfood.com
A slim, precise nymph that teaches tying with natural fibres — pheasant tail fibres wrapped to form the tail, abdomen, and wing case. More demanding than the Hare's Ear but an excellent pattern that catches fish everywhere. The beadhead version is particularly effective and slightly more forgiving to tie.
→ Step-by-step instructions and video: How to Tie the Pheasant Tail Nymph
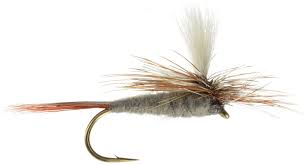
5. The Parachute Adams
Source: orvis.com
Once you're comfortable with the first four patterns, the Parachute Adams introduces two new skills: post construction (the white poly yarn or calf hair post that the hackle wraps around) and parachute hackle application. It's the most versatile dry fly in existence — once you can tie it well, you can tie almost any dry fly variant.
→ Step-by-step instructions and video: How to Tie the Parachute Adams
Setting Up Your Tying Space
You don't need a dedicated room or an elaborate setup to tie flies. A corner of a table, good lighting, and organised materials is all that's required. A few things that make the experience better:
Good lighting: the single most important environmental factor. Tying in poor light is tiring and produces worse flies. A bright, directed light — an adjustable desk lamp or a dedicated tying light — positioned to illuminate the hook without glare is worth the small investment.
Organised materials: materials spread across a table become a tangled mess quickly. Small storage containers, zip-lock bags organised by material type, or a purpose-built materials organiser all work. The goal is being able to find what you need without interrupting your tying flow.
A non-slip surface: a rubber mat or tying mat under the vise prevents it from shifting during tying and catches the inevitable dropped hooks and beads. Many tyers use a simple piece of foam board or a commercial tying mat.
A waste bin: a small container for thread clippings, trimmed material, and debris keeps your tying area clean and makes cleanup easier.
A comfortable chair: you'll spend extended periods sitting at a fixed position. A chair at the right height for your tying surface, with reasonable back support, makes sessions more comfortable and sustainable.
Learning to Tie: The Best Resources
YouTube
YouTube is the best free resource for learning to tie flies — unambiguously. Visual instruction for a visual skill is simply more effective than written instruction alone, and the quality of fly tying content on YouTube is extraordinary.
Recommended channels:
Fly Fish Food — one of the best tying channels available. Clear instruction, excellent camera work, comprehensive pattern library. Their tutorials cover everything from beginner patterns to advanced techniques with consistent quality. Start here.
Tightline Productions — detailed, methodical instruction from Tim Flagler. Particularly good for classic patterns and technique fundamentals.
Fly Tyer Magazine — a broad library of patterns across skill levels.
Search for the specific pattern you want to tie on each channel and watch two or three different tyers' approaches before starting — you'll pick up tips from each that improve your version.
Books
A few fly tying books are genuinely worth owning:
The Fly Tier's Benchside Reference by Ted Leeson and Jim Schollmeyer — the most comprehensive reference for fly tying materials and techniques. More encyclopedia than tutorial, but invaluable as a reference.
Tying Trout Flies by Skip Morris — excellent beginner-to-intermediate instruction with clear photographs.
The Complete Book of Fly Tying by Eric Leiser — a classic introduction that covers the full range of fly types and techniques.
Your Local Fly Fishing Club
Many fly fishing clubs run fly tying evenings or beginner tying classes. Learning alongside more experienced tyers — with access to their materials, tools, and knowledge — accelerates progress significantly and is more enjoyable than learning alone. Ask at your local fly shop about clubs and tying groups in your area.
Common Beginner Mistakes
Almost every beginner tyer makes the same mistakes. Being aware of them upfront saves frustration:
Too much thread tension. Over-tightening thread wraps cuts through materials, distorts the hook, and creates an uneven base. Thread should be firm but not extreme — enough to hold materials securely, not enough to cut them.
Too many thread wraps. Beginners tend to over-wrap, building up unnecessary bulk on the hook shank. Two or three firm wraps hold materials better than ten loose ones. Less is more.
Materials tied in too far from the bend. Starting materials at the right position on the hook shank — not too far forward, not too far back — is one of the most common proportioning errors. Study reference photos carefully before tying each pattern.
Rushing. Fly tying rewards deliberate, unhurried work. A thread wrap that goes where intended is worth more than three rushed wraps. Slow down, especially when learning a new pattern.
Giving up on an ugly fly. Finish every fly, even if it looks terrible. The act of completing a fly — whip finishing, applying head cement, removing it from the vise — consolidates the learning from that attempt. Ugly flies catch fish. Unfinished flies catch nothing.
Not watching enough video first. It's tempting to start tying immediately after reading instructions. Watch at least one complete video tying the pattern first — preferably two. The visual reference of seeing the correct proportions and material positioning is invaluable when you sit down to tie.
Building Your Skills from Here
Once you can tie the five starter patterns reasonably well, a natural progression emerges:
Expand your pattern library gradually. Add one new pattern at a time — a new nymph, a different streamer variant, a more demanding dry fly. Each new pattern teaches at least one new technique or material application.
Tie in batches. Tying six of the same pattern in one session builds muscle memory faster than tying one of each of six different patterns. By the sixth fly of a batch you'll be noticeably better than you were on the first.
Test your flies on the water and log the results. The feedback loop between tying and fishing is one of the most valuable aspects of the hobby. A fly that doesn't produce — or one that produces unexpectedly well — generates a question worth investigating at the vise.
Study natural insects. Collect a few specimens from the waters you fish — a net swept through river vegetation produces a revealing cross-section of the aquatic invertebrate community. Understanding what you're imitating gives your tying direction and purpose.
Join a tying community. Online forums, local clubs, and social media groups provide feedback, inspiration, and the shared experience of other tyers at all levels. Progress accelerates in community.
🎣 Log which flies you tied and how they fished. The feedback loop between tying bench and river is one of fly tying's greatest pleasures — but only if you can remember what you tried. Logging your fly selection and results on Flyloops connects your tying directly to your fishing data, showing you which patterns you tied actually catch fish. Start your free logbook →
Frequently Asked Questions
Is fly tying hard to learn? The basics are accessible to anyone willing to put in a few sessions of practice. Your first flies will be imperfect — that's normal and expected. Within five to ten sessions of deliberate tying, most beginners are producing functional, fish-catching flies. The skill ceiling is high, but the entry point is lower than most people expect.
How much does it cost to get started with fly tying? A functional starter setup — six essential tools plus a basic materials selection — costs $110–$180. A mid-range kit built around a quality rotary vise runs $200–$280. After the initial investment, the per-fly cost is a fraction of buying shop-tied patterns.
Do I need artistic talent to tie flies? No. Fly tying is a craft skill, not an art form. It rewards patience, attention to detail, and repetitive practice — not innate artistic ability. Many excellent tyers describe themselves as having no artistic talent whatsoever. The skills are learnable by anyone.
What is the best first fly to tie? The Woolly Bugger. It's forgiving of imperfect proportions, teaches the core skills used in most other patterns, and is highly effective on the water — so your first attempts will actually catch fish. Starting with a pattern that rewards you immediately builds motivation to continue.
How long does it take to tie a fly? A beginner might spend 20–30 minutes on their first Woolly Bugger. With practice, the same fly takes 5–8 minutes. Complex dry flies take longer — a well-tied Parachute Adams might take 15–20 minutes even for an experienced tyer. Speed comes naturally with repetition.
Can I tie flies without a vise? Technically possible but practically very difficult. A vise holds the hook securely while both hands work freely — without it, you're trying to hold the hook with one hand and work with the other, which severely limits what you can do. Even a basic entry-level vise transforms the experience. It's the one tool worth prioritising.
Will my self-tied flies catch as many fish as shop-bought ones? Yes — and often more. A fly tied specifically for your local conditions, adjusted for the prevalent insect sizes and colours in your water, will often outperform a generic shop pattern. The knowledge of your water that informs your tying is an advantage that shop patterns can't replicate.
Where can I find fly tying patterns? YouTube is the best free resource — search any pattern name and you'll find multiple tutorial videos. Fly tying books provide structured instruction and inspiration for building a pattern library. Your local fly shop is an excellent source of advice on which patterns work locally and how to tie them.
Ready to tie your first fly? Start with our step-by-step guide to tying the Woolly Bugger — the perfect first pattern, with a tying video from Fly Fish Food.