How to Tie the Hare's Ear Nymph: The Complete Guide (All Variants)
Estimated read time: 10 minutes
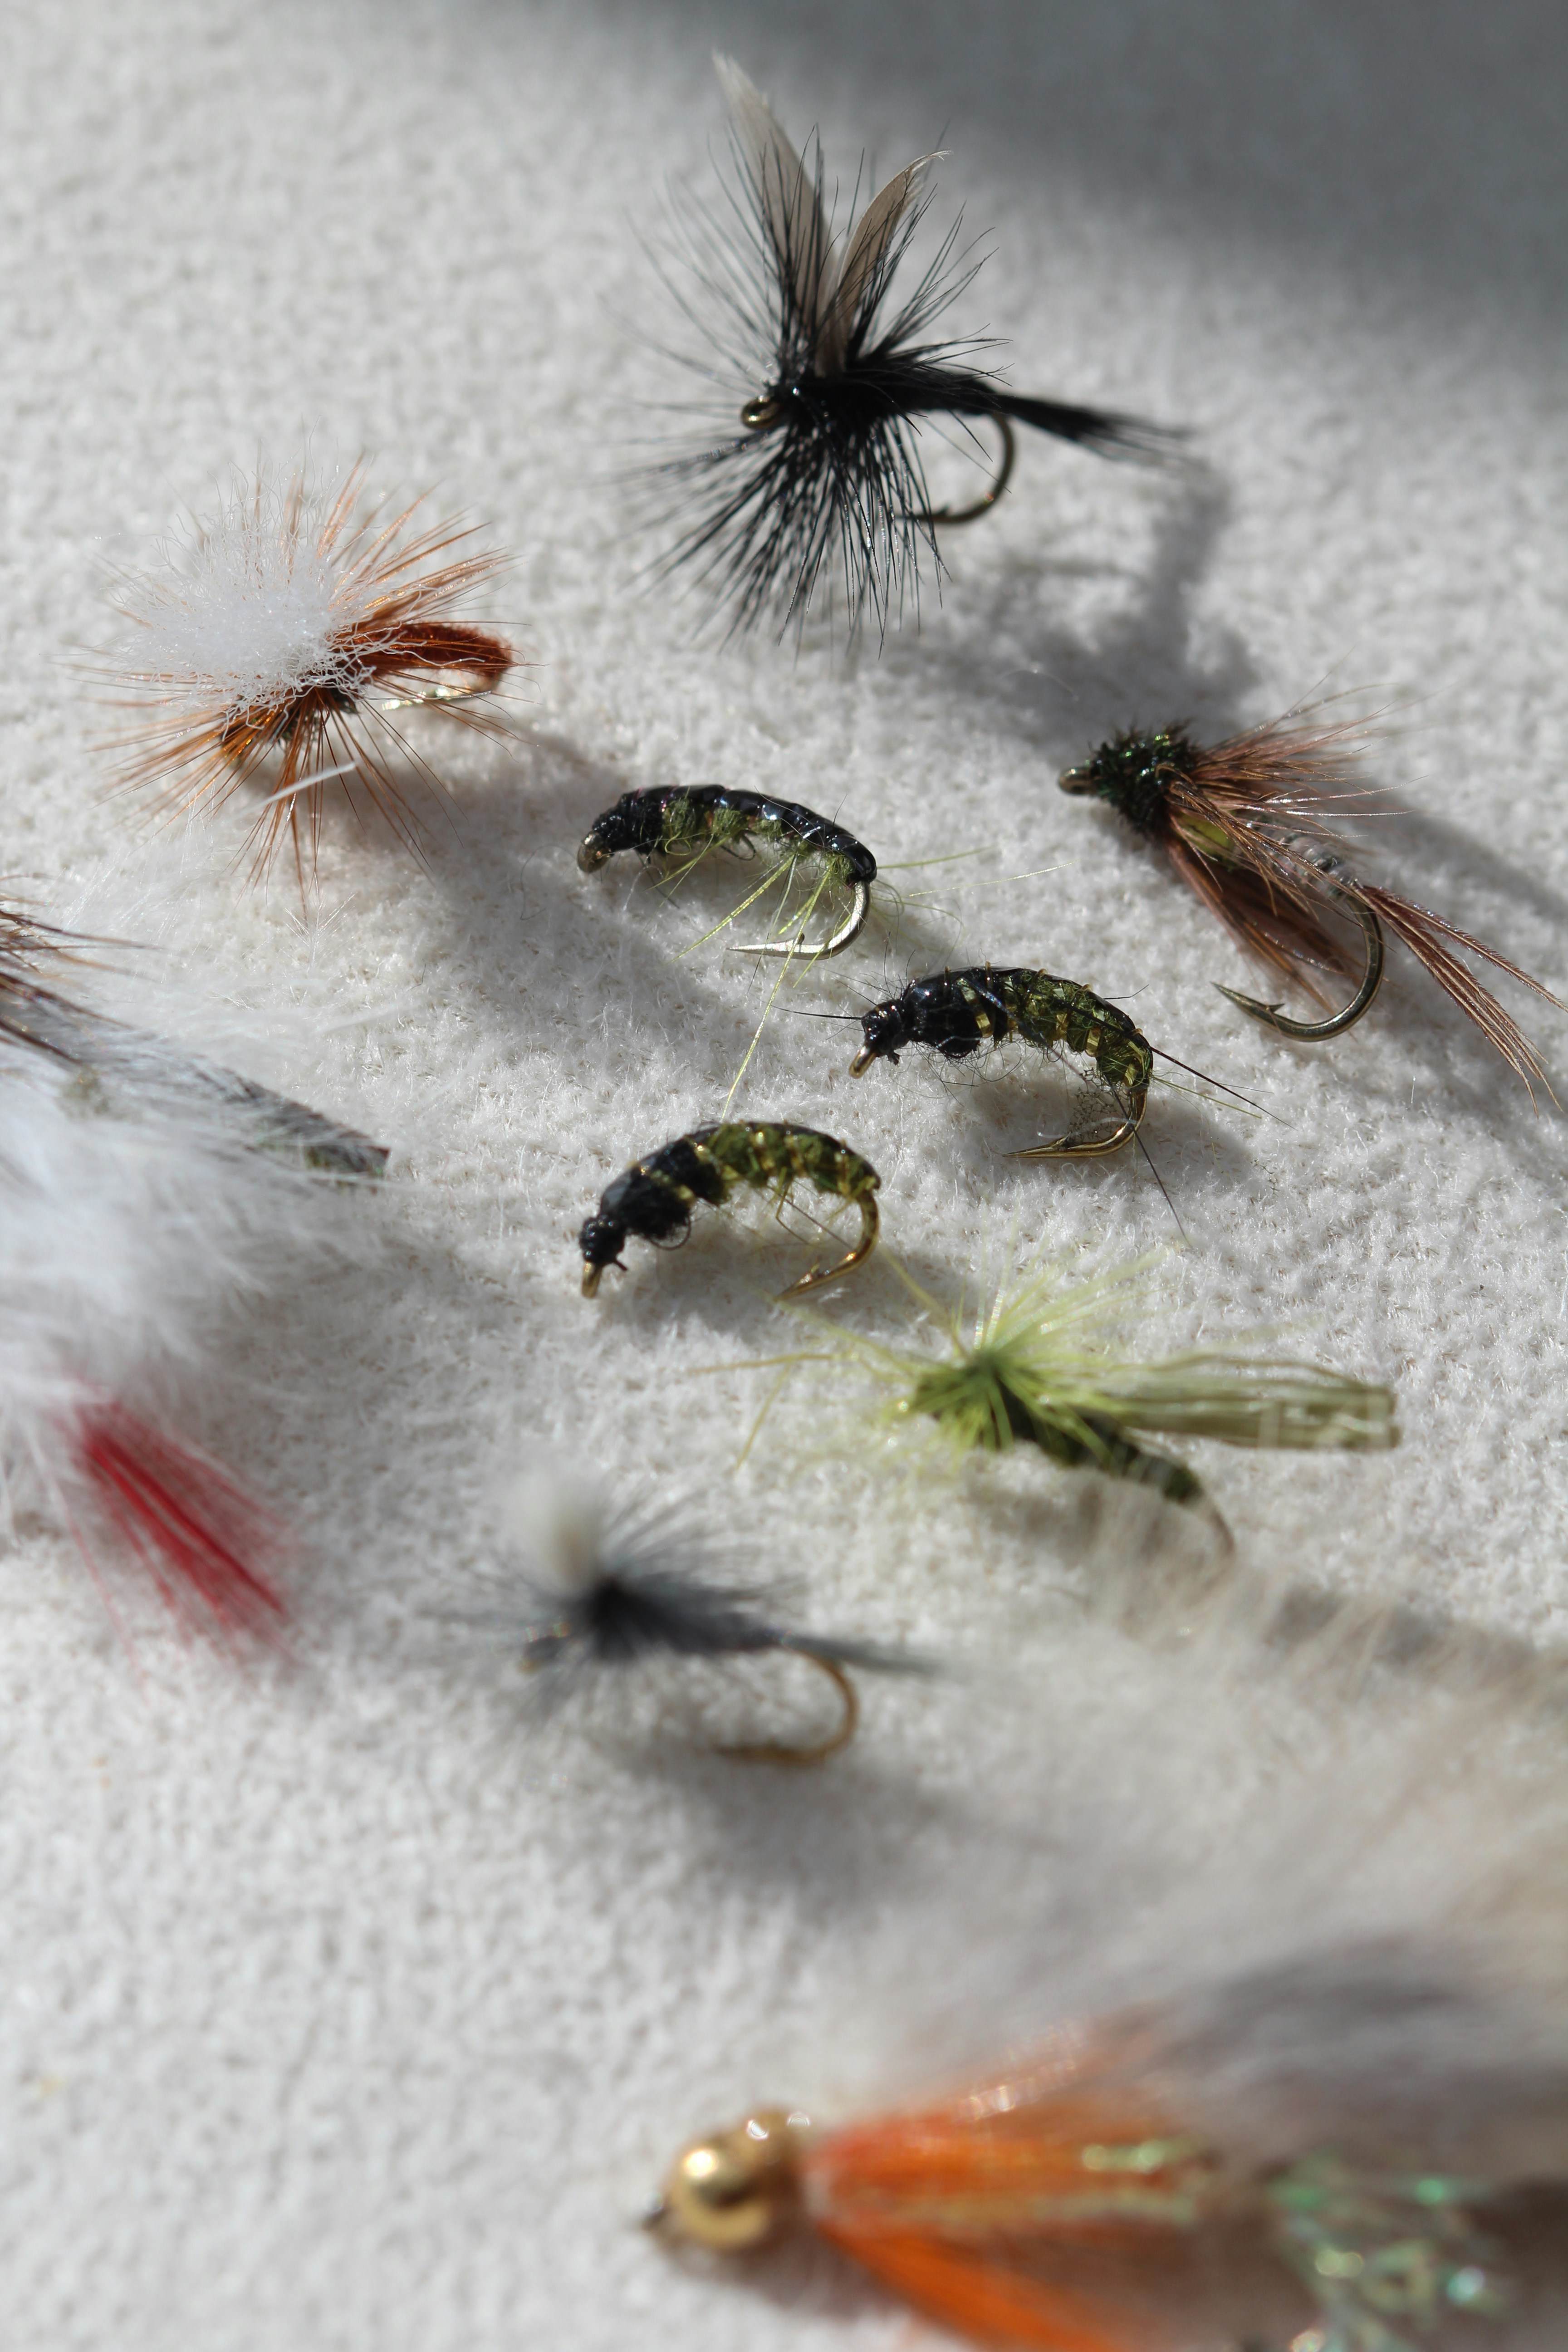
If the Woolly Bugger is the most versatile streamer ever tied, the Hare's Ear Nymph is the most versatile nymph. It's been catching trout — and virtually every other freshwater species that eats subsurface — since the 1800s. And unlike many classic patterns that have been superseded by more precise modern imitations, the Hare's Ear remains as effective today as it ever was.
Why? Because it doesn't imitate any single insect precisely. It imitates all of them vaguely. Its rough, spiky profile — created by the coarse guard hairs in hare's ear dubbing — suggests a mayfly nymph, a caddis larva, a scud, a freshwater shrimp, or a stonefly nymph depending on size, colour, and how it's fished. Fish see it and see food, without the cognitive comparison that causes refusals with more precise imitations.
For the beginner tyer, the Hare's Ear is the pattern that teaches dubbing — the foundational skill of applying fur or synthetic fibre to thread to create a textured body. Master dubbing on a Hare's Ear and you can tie almost any nymph pattern.
This guide covers the standard Hare's Ear, the beadhead variant, the flashback variant, and a few other popular variations — with step-by-step instructions and an embedded tying video from one of fly tying's finest educators, The Feather Bender.
Table of Contents
- Why the Hare's Ear Works
- Materials You'll Need
- The Standard Hare's Ear: Step by Step
- Tying Video: Hare's Ear Nymph
- The Beadhead Hare's Ear
- The Flashback Hare's Ear
- Size and Colour Variations
- How to Fish the Hare's Ear
- Frequently Asked Questions
Why the Hare's Ear Works
The Hare's Ear's effectiveness comes down to three things: profile, texture, and movement.
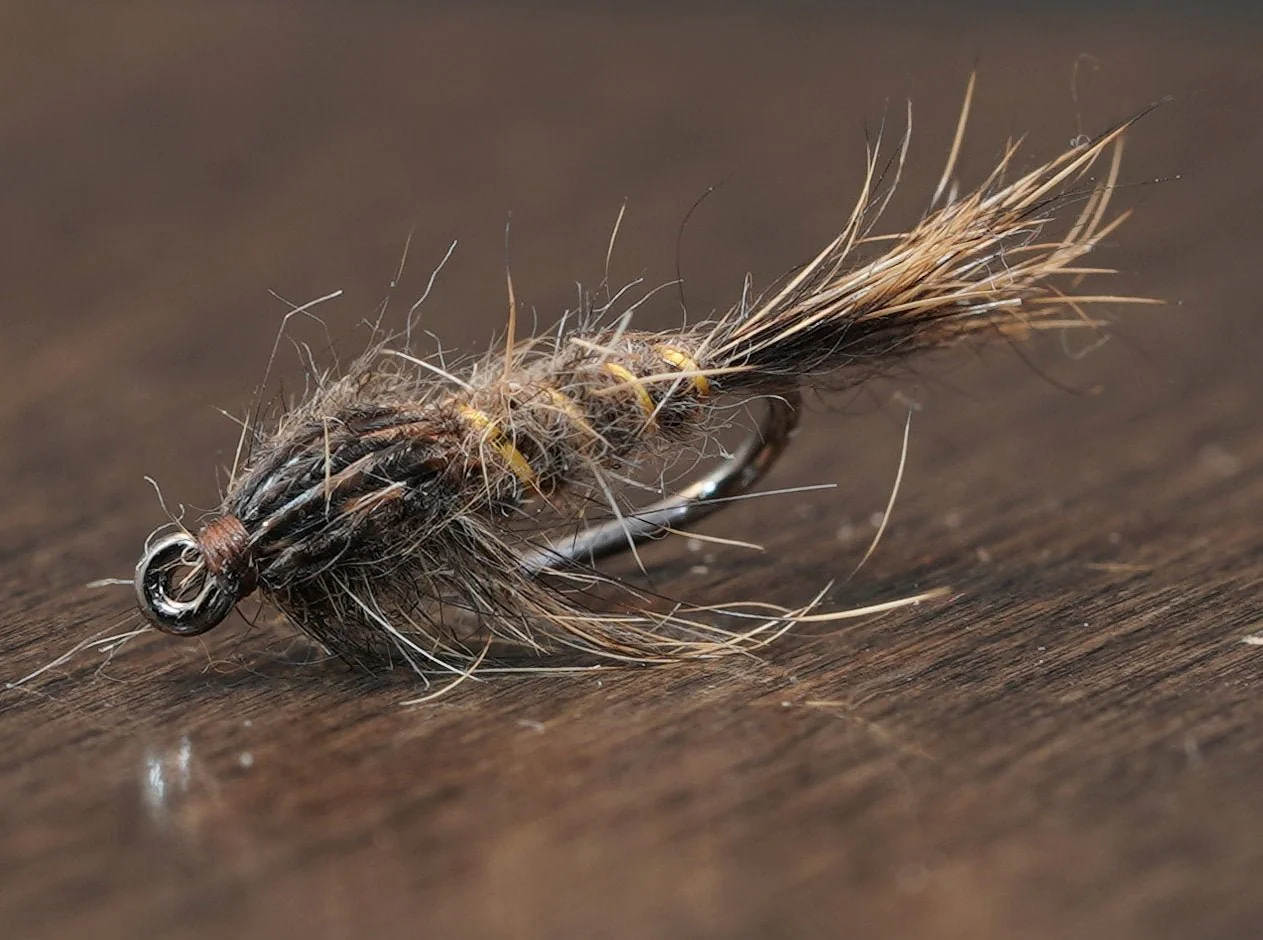
Profile: tied in the right size, a Hare's Ear has the broad, flattened silhouette of a mayfly nymph — the most important food source for trout in most rivers worldwide. But its profile is vague enough to pass for caddis, stonefly, and scud imitations too.
Texture: hare's ear dubbing is unique. Taken from the ear of a hare, it contains a mixture of fine underfur and coarse guard hairs that create a spiky, translucent body unlike any synthetic material. The guard hairs stick out from the body, imitating the gills and legs of aquatic invertebrates. This texture catches light and creates the suggestion of life.
Movement: the guard hairs that give the Hare's Ear its texture also pulse and move in current, even with no retrieve. A dead-drifted Hare's Ear looks alive because the materials are alive in the water. This is why it outperforms smooth-bodied patterns in most conditions.
Materials You'll Need
For the Standard Hare's Ear
| Material | Specification | Notes |
|---|---|---|
| Hook | Nymph hook, size 10–18, 2XL | Tiemco 3769, Mustad C49S, or equivalent |
| Thread | 8/0 or 6/0, tan or brown | Matches body colour |
| Tail | Hare's mask guard hairs or pheasant tail fibres | 6–8 fibres, hook shank length |
| Rib | Fine oval gold tinsel or copper wire | Adds durability and flash |
| Abdomen | Hare's ear dubbing, natural | The defining material of this fly |
| Wing case | Pheasant tail fibres or dark turkey tail | 8–10 fibres tied flat over thorax |
| Thorax | Hare's ear dubbing, picked out | Rougher and fuller than abdomen |
| Legs (optional) | Picked-out thorax dubbing or partridge fibres | Enhances movement |
For the Beadhead Variant
Everything above, plus:
- Brass or tungsten bead, sized to hook (2.8mm for size 12, 2.4mm for size 14)
Tools Required
- Fly tying vise
- Bobbin and thread
- Fine-tipped scissors
- Dubbing needle or bodkin (for picking out dubbing)
- Hackle pliers
- Whip finisher
- Head cement or UV resin
The Standard Hare's Ear: Step by Step
Step 1: Set Up the Hook
Secure the hook in the vise with the shank horizontal. Start your thread behind the eye and wrap a smooth, even thread base back to the bend of the hook. A good thread base prevents materials from spinning and gives the dubbing something to grip.
Step 2: Tie In the Tail
Select 6–8 fibres from a hare's mask — the coarser guard hairs from the base of the ear. Alternatively, use pheasant tail fibres for a slimmer, more precise tail. Pinch the fibres together and tie them in at the bend with several firm thread wraps. The tail should extend approximately half a hook shank length beyond the bend.
Tip: keep the tail fibres short. An overly long tail makes the fly look unnatural and can spin in the current, twisting the tippet.
Step 3: Tie In the Rib
Tie in a length of fine oval gold tinsel or copper wire at the bend, alongside the tail. Let it hang while you build the body — you'll wrap it forward over the abdomen once the dubbing is in place.
Step 4: Dub the Abdomen
This is the key step — and where beginners spend the most time developing feel.
Take a small pinch of hare's ear dubbing and tease it into a thin, even rope between your thumb and forefinger. Twist it onto the thread in one direction only — clockwise or anticlockwise, consistently — to create a tight dubbing loop. Apply the dubbing sparsely: less dubbing than you think you need is usually the right amount.
Wrap the dubbed thread forward in touching turns, building up a slightly tapered abdomen that covers the rear two-thirds of the hook shank. Stop about one-third of the way back from the eye to leave room for the wing case and thorax.
Tip: the most common beginner mistake with dubbing is applying too much. A slim, sparse abdomen produces a better fly than a fat, bulky one. You can always add more; you can't take it away.
Step 5: Wrap the Rib
Grasp the tinsel or wire and wrap it forward over the abdomen in evenly spaced turns — 4–6 turns for most hook sizes — in the opposite direction to the dubbing wraps. This counter-wrapping locks the rib into the dubbing and prevents it unwrapping. Tie off behind the eye and trim the excess.
The rib serves two purposes: it adds a flash of gold that imitates the segmentation of natural insects, and it reinforces the dubbing body, extending the life of the fly significantly.
Step 6: Tie In the Wing Case
Select 8–10 pheasant tail fibres and align the tips. Tie them in by the tips at the point where the abdomen ends, with the fibres extending forward over the eye. They'll be folded back over the thorax in a later step — leave them pointing forward for now.
Step 7: Dub the Thorax
Apply a slightly larger, rougher amount of dubbing to the thread than you used for the abdomen. Wrap the dubbed thread forward to just behind the eye, building a fuller, shaggier thorax that's clearly larger in profile than the abdomen.
Tip: after wrapping, use a dubbing needle to pick out some of the thorax fibres, particularly on the underside and sides. This creates the suggestion of legs and gills and gives the fly its characteristic rough, alive appearance.
Step 8: Fold the Wing Case
Bring the pheasant tail fibres back over the top of the thorax and tie them down firmly behind the eye. The fibres should lie flat and taut over the thorax, creating a dark wing case that contrasts with the tan body. Trim the excess fibres and cover the tie-off point with neat thread wraps.
Step 9: Build the Head and Finish
Build a small, neat thread head. Whip finish or apply several half-hitch knots. Apply a small drop of head cement or UV resin and allow to cure.
Tying Video: Hare's Ear Nymph
The Feather Bender produces some of the most detailed and instructive fly tying content available — methodical, clear, and genuinely educational for tyers at every level. Watch their Hare's Ear tutorial below before picking up your materials.
Video credit: The Feather Bender — exceptional fly tying instruction with a focus on classic and modern nymph patterns.
The Beadhead Hare's Ear
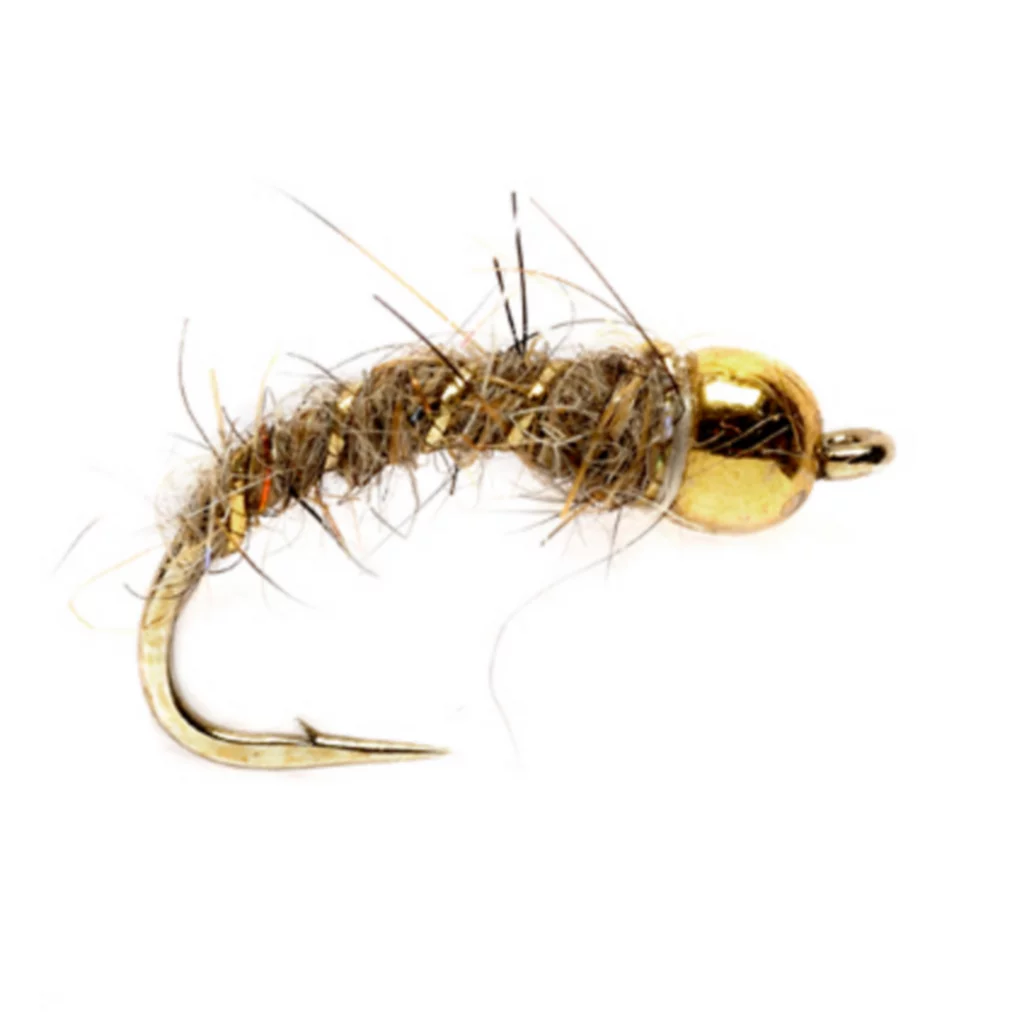
Source: orvis.com
The beadhead variant is arguably the most widely used version of the Hare's Ear today. The addition of a brass or tungsten bead at the head serves the same purpose as on a beadhead Woolly Bugger: it gets the fly down faster, adds flash, and creates a jigging action on the retrieve.
How to Tie the Beadhead Variant
Before starting your thread, slide the bead onto the hook with the small hole facing the point. Push it up to the eye. Start your thread behind the bead and proceed exactly as for the standard pattern. The bead replaces the thread head — no separate head building required.
Tungsten vs brass: tungsten beads are heavier and sink faster — use them in fast water and deeper nymphing situations. Brass beads are lighter and more affordable — good for slower water and shallower presentations.
Bead sizing guide:
| Hook Size | Bead Size |
|---|---|
| Size 10 | 3.2mm |
| Size 12 | 2.8mm |
| Size 14 | 2.4mm |
| Size 16 | 2.0mm |
| Size 18 | 1.5mm |
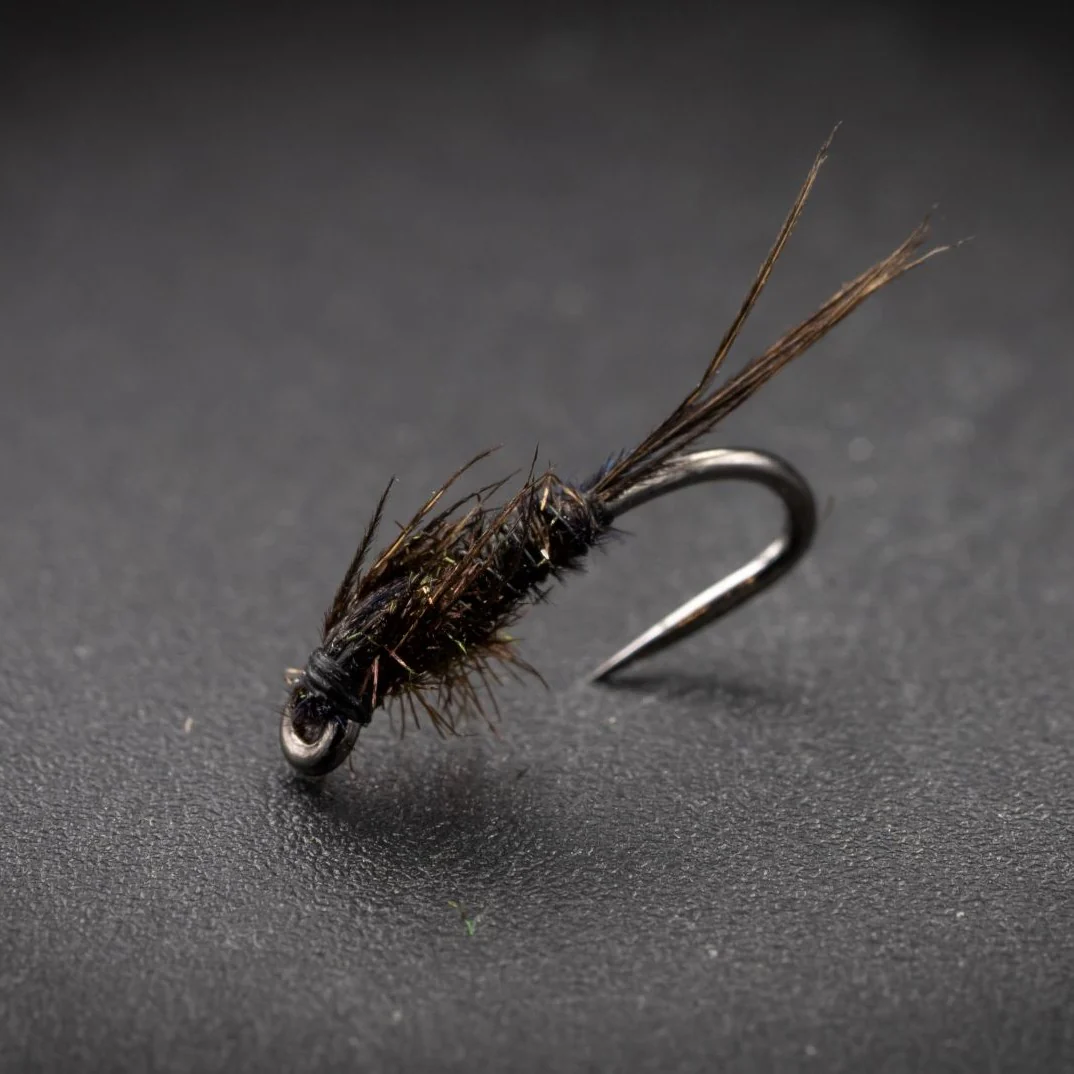
The Flashback Hare's Ear
A popular variant that adds a strip of pearl or holographic tinsel over the wing case, creating a flash of light that imitates the air bubble trapped by an emerging nymph. This flash can be the difference between refusal and take in clear water where fish have a good look at the fly.
How to Tie the Flashback Variant
The tying sequence is identical to the standard Hare's Ear with one addition. When tying in the wing case fibres in Step 6, also tie in a narrow strip of pearl Mylar or Flashabou alongside the pheasant tail fibres. When folding the wing case over the thorax in Step 8, fold both the pheasant tail and the flash strip back together. The flash strip should sit on top of the wing case, creating a bright highlight along its centre.
When to use it: the Flashback Hare's Ear is particularly effective during hatch periods when nymphs are actively ascending through the water column and trapping air bubbles in their shucks. It also works well in slightly coloured water where the extra visibility helps fish locate the fly.
Size and Colour Variations
Size
Size is the most important variable in Hare's Ear selection. Match the size of the dominant nymph in the water you're fishing:
- Size 10–12: large stonefly and mayfly nymph imitations; high, fast water; searching patterns
- Size 14–16: the most useful all-round sizes for most river fishing
- Size 18–20: small stream fishing, clear water, selective fish, midge and small mayfly imitation
When in doubt, size 14 is the starting point for most situations.
Colour
Natural tan/brown: the standard colour. Imitates the majority of mayfly and caddis species in most rivers. Carry this first.
Olive: effective where olive-bodied mayflies (Blue Winged Olive, Pale Morning Dun) are prevalent. A staple in spring creek and chalk stream fishing.
Dark/black: for stonefly imitation and fishing in coloured water where a darker silhouette is more visible.
Cream/pale: imitates pale mayfly species and works well in clear, low summer water where lighter flies are less alarming to fish.
How to Fish the Hare's Ear
Dead Drift Nymphing
The standard presentation. Cast upstream and allow the fly to drift naturally with the current, at or near the bottom, through likely feeding lies. Use a strike indicator set at 1.5 times the water depth to detect takes — strikes are often a subtle pause or twitch of the indicator rather than a dramatic movement.
The Hare's Ear fishes best close to the bottom where most nymphs are found. Add split shot above the fly or switch to a tungsten beadhead to get down in faster or deeper water.
The Leisenring Lift
A classic presentation named after American fly tyer James Leisenring. Cast across and slightly upstream, allow the fly to sink on a slack line, then raise the rod tip as the fly approaches a known lie. The fly rises through the water column, imitating an ascending nymph — takes come as the fly rises, often violently.
Euro Nymphing
The Hare's Ear in a heavier, more compact Euro nymphing version — a jig hook with a tungsten bead and slimmer profile — is one of the most effective Euro nymphing patterns available. Fished tight-line with no indicator, it produces fish in fast pocket water that indicator nymphing can't effectively cover.
Dry-Dropper
Suspend a beadhead Hare's Ear below a buoyant dry fly (a foam hopper or large Wulff pattern) as the dropper in a dry-dropper rig. The dry fly acts as a visible indicator while also presenting a potential surface meal. Effective in the pocket water of freestone streams throughout the season.
🎣 Log which size and variant works on your water. The Hare's Ear comes in enough variations that knowing which version produces on your home water — and in what conditions — is genuinely valuable. Logging your fly selection and catch results on Flyloops builds that picture over time. Start your free logbook →
Frequently Asked Questions
What is the best size Hare's Ear for trout? Size 14 covers the majority of everyday trout fishing situations. Go smaller (16–18) in clear, low water or for selective fish during small mayfly hatches. Go larger (10–12) in high or fast water, or when stonefly nymphs are the primary food source.
What dubbing should I use for a Hare's Ear? Genuine hare's ear dubbing — taken from the ear of a hare — produces the best results. It has a unique texture of fine underfur and coarse guard hairs that synthetics don't fully replicate. Pre-blended hare's ear dubbing is available from most fly tying suppliers and is the easiest starting point. Avoid over-blended, overly fine dubbing — you want the coarse guard hairs present.
Should I use a beadhead or standard Hare's Ear? Beadhead for fast water, deeper presentations, and Euro nymphing — the extra weight gets the fly into the feeding zone faster. Standard for shallower water, slower currents, and situations where you want a more subtle presentation. Carry both.
What's the difference between the Hare's Ear and the Pheasant Tail Nymph? The Hare's Ear is bulkier, rougher, and more impressionistic — it suggests a wide range of invertebrates rather than imitating one precisely. The Pheasant Tail is slimmer, smoother, and more specifically imitates slender mayfly nymphs. Both are essential; they complement rather than replace each other. When fish are selective on slim-bodied nymphs, the Pheasant Tail usually outperforms the Hare's Ear.
How do I pick out the dubbing on the thorax? Use a dubbing needle, a Velcro patch, or even a piece of rough Velcro material to tease out fibres from the thorax after tying. Work gently in a downward and outward direction. The goal is to create a suggestion of legs rather than a complete hackle — a few picked-out fibres on each side are sufficient.
Can I tie a Hare's Ear without genuine hare's ear dubbing? Yes, though the result won't be identical. A blend of rabbit fur and a small amount of coarse guard hair (from any hare or rabbit skin) approximates the texture. Various synthetic blends marketed as "hare's ear substitute" are available and work reasonably well. For best results, use genuine hare's ear dubbing.
How many Hare's Ears should I tie before fishing? Tie at least eight to ten before your first session — in a mix of sizes (12, 14, 16) and both standard and beadhead versions. The Hare's Ear is one of the flies you'll lose most often to snags and fish, and running out mid-session is frustrating.
Tied your first Hare's Ear? Log your first nymphing session on Flyloops and track how it performs across different conditions and waters.