Fly Tying Tools for Beginners: Everything You Need to Get Started
Estimated read time: 11 minutes
Fly tying looks like it requires a lot of specialised equipment. Walk into a fly shop and you'll see walls of tools, gadgets, and accessories that seem essential until you realise most experienced tyers use only a handful of them regularly.
The good news: you can tie the vast majority of fly patterns with six basic tools. Everything else is either a convenience, a specialised item for advanced techniques, or a solution to a problem you don't have yet.
This guide covers every tool you'll encounter — what it does, whether you actually need it, and what to buy at each budget level. By the end you'll know exactly what to put in your cart and what to leave on the shelf.
Table of Contents
- The Six Essential Tools
- The Fly Tying Vise
- The Bobbin
- Scissors
- Hackle Pliers
- The Whip Finisher
- Head Cement and UV Resin
- Useful Additions
- Tools You Don't Need Yet
- Starter Kit Recommendations by Budget
- Frequently Asked Questions
The Six Essential Tools
Before getting into detail, here's the complete list of what you actually need to start tying flies:
- Fly tying vise — holds the hook while you tie
- Bobbin — holds the thread spool and controls thread tension
- Scissors — cuts thread and materials
- Hackle pliers — grips small feathers for palmering
- Whip finisher — ties off the thread head neatly
- Head cement or UV resin — seals and protects the finished head
That's it. With these six tools you can tie a Woolly Bugger, a Hare's Ear nymph, an Elk Hair Caddis, and hundreds of other patterns. Everything else comes later, if at all.
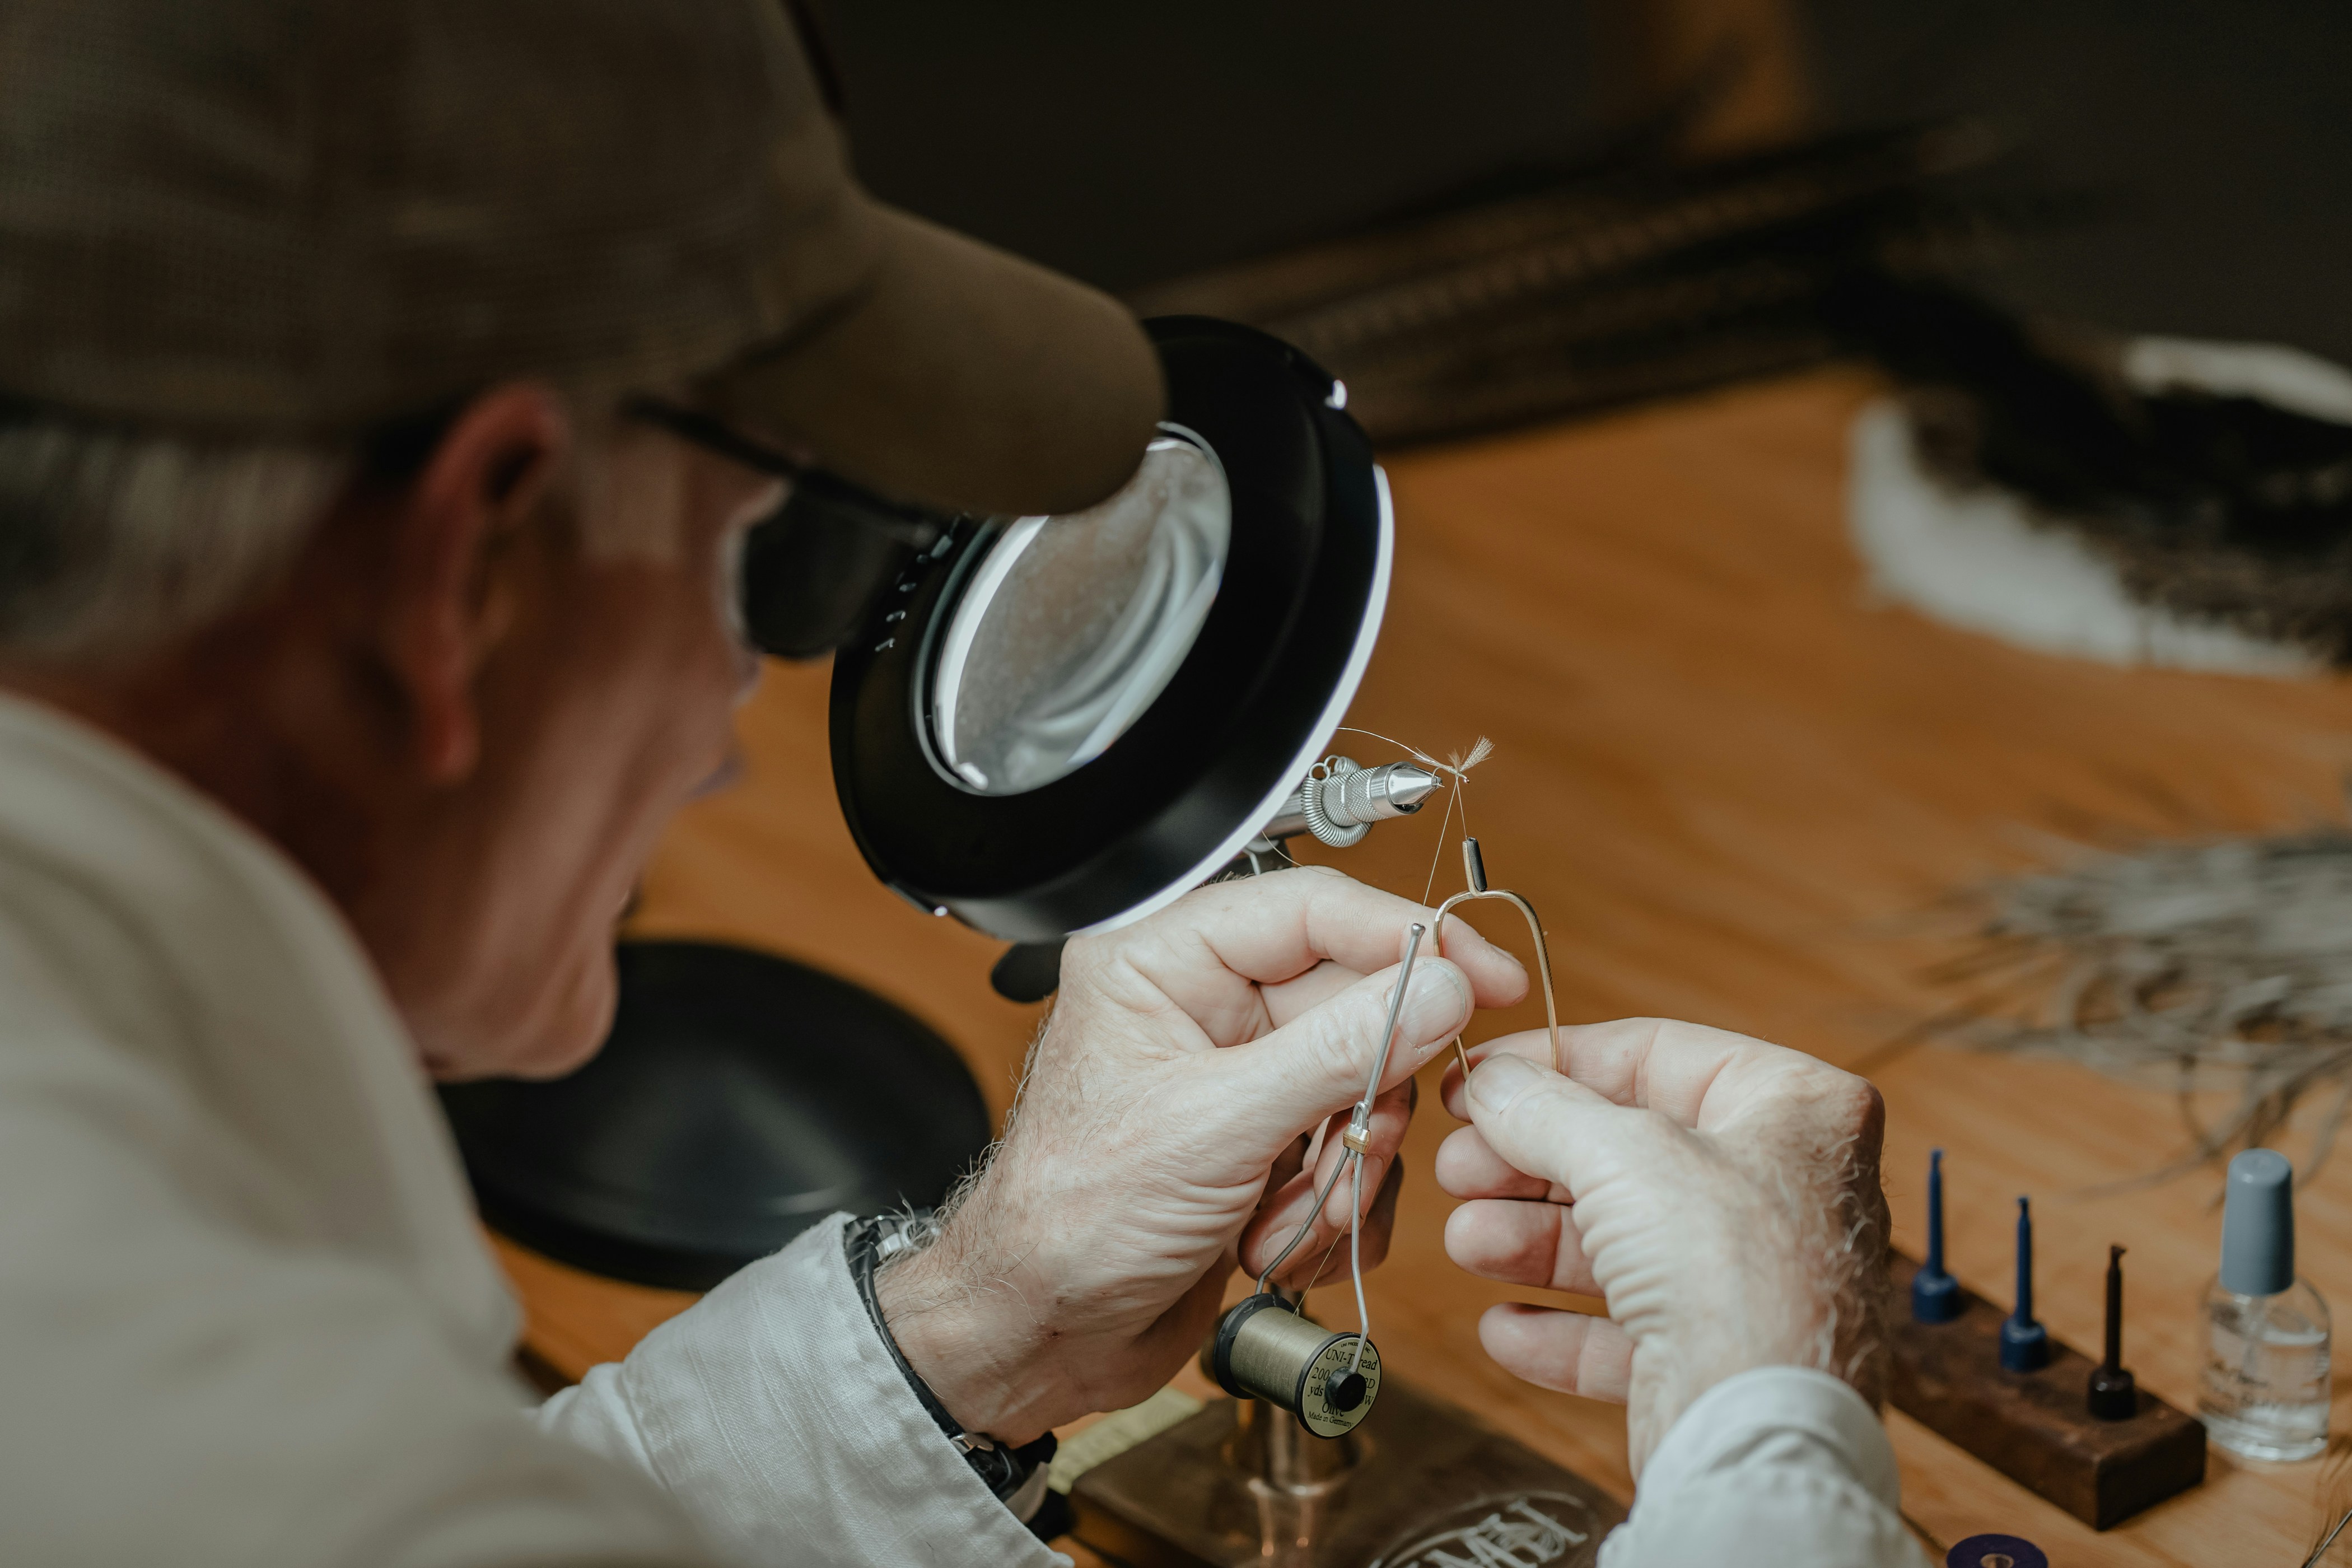
The Fly Tying Vise
The vise is the most important tool in fly tying. It holds the hook securely while both your hands are free to work with thread and materials — without it, tying is essentially impossible.
Source: emeraldwateranglers.com
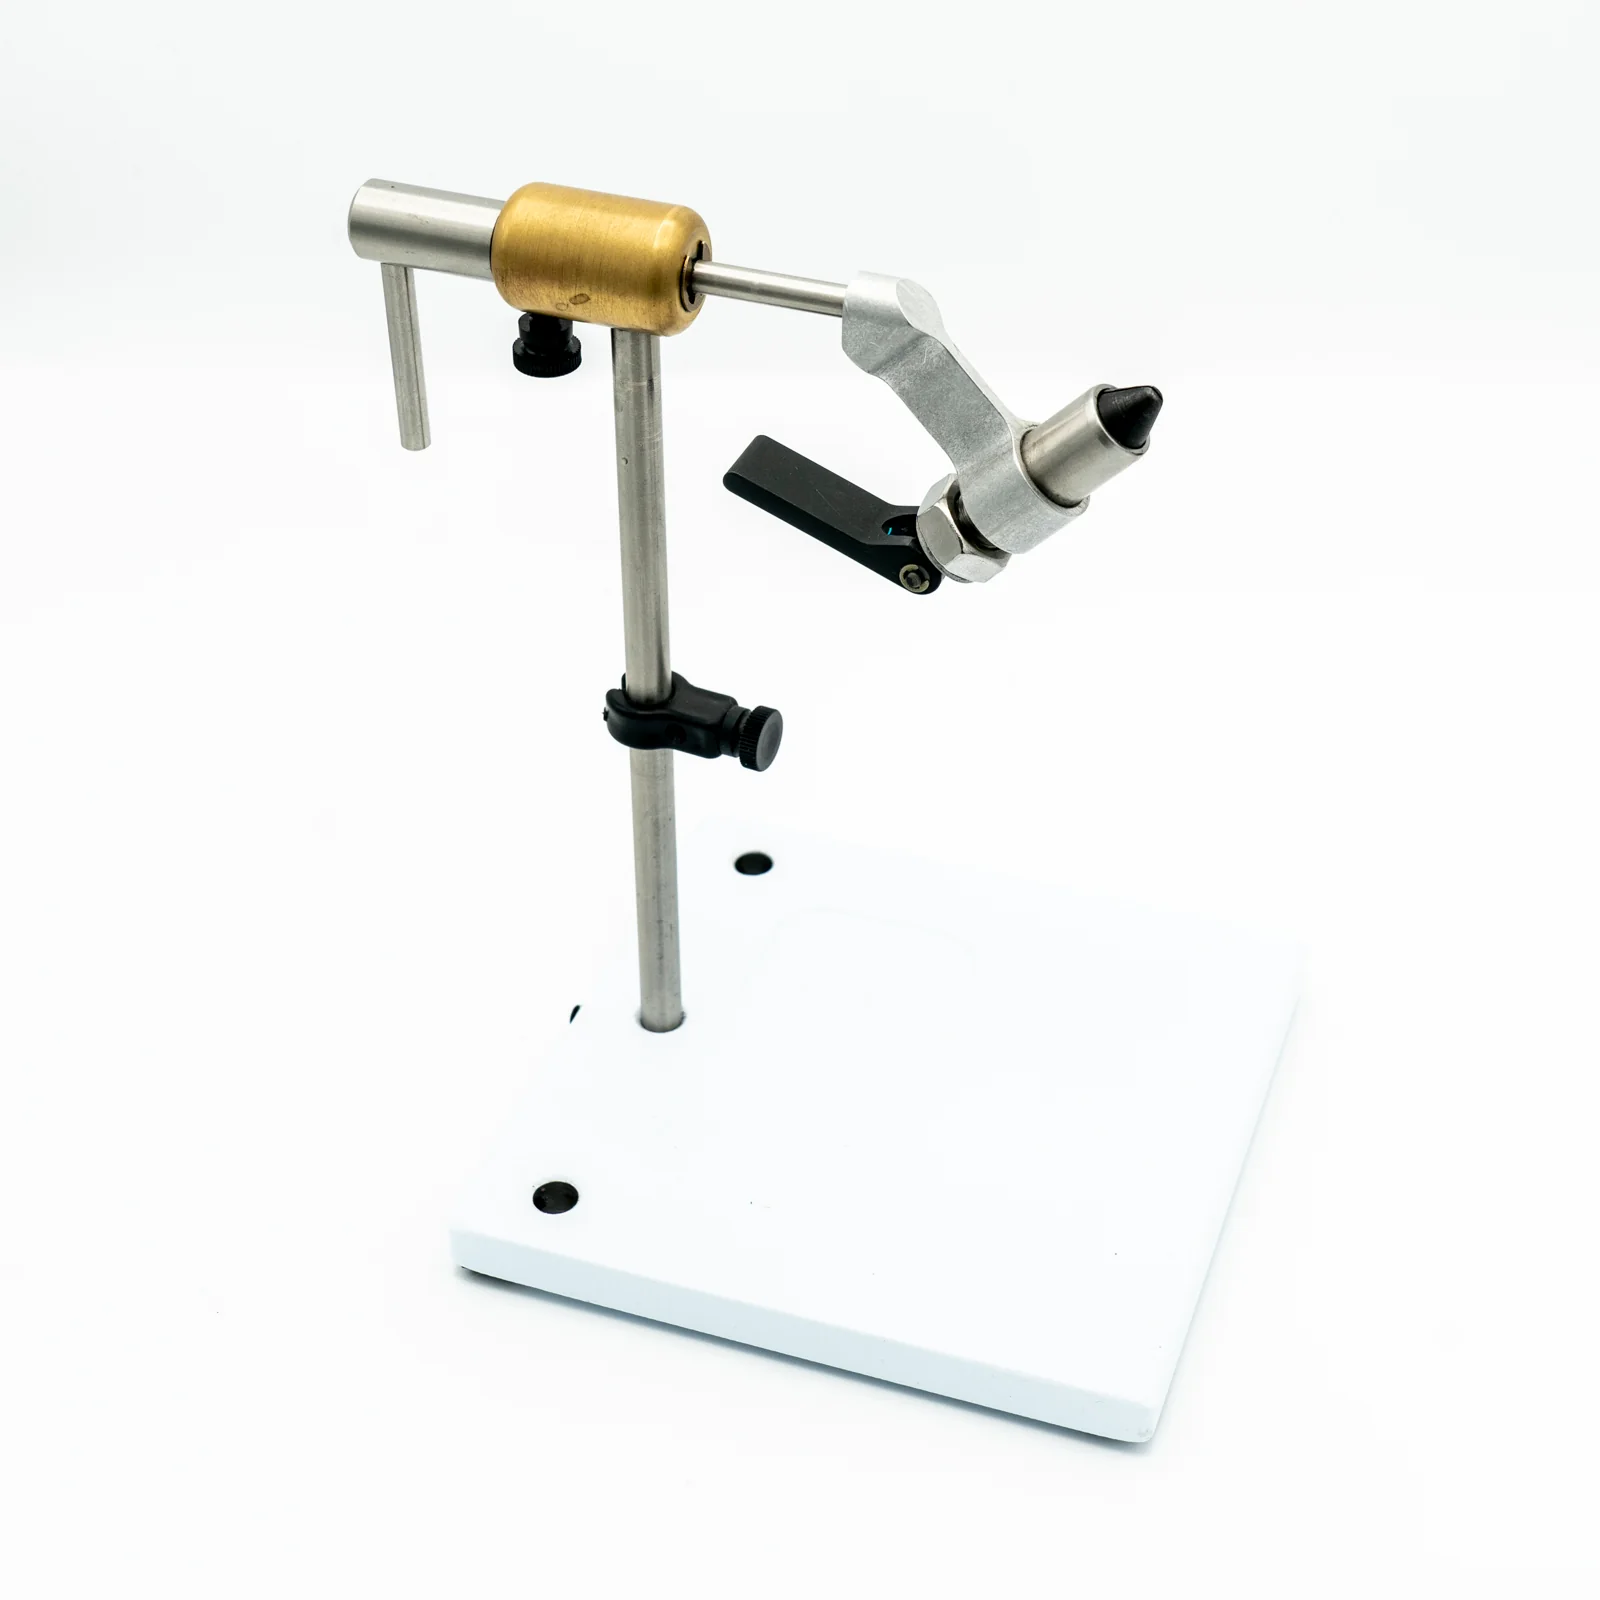
How a Vise Works
A fly tying vise consists of a set of jaws that grip the hook at the bend, mounted on an adjustable arm, which in turn attaches to your tying surface via a clamp or a weighted pedestal base. You insert the hook, tighten the jaws, and the hook stays put while you wrap thread and tie in materials.
Types of Vise
Cam vise: The most common type. A lever mechanism opens and closes the jaws — quick to adjust, reliable, and available at every price point. Good for beginners.
Collet vise: A rotating collar tightens the jaws. Slightly more precise than cam vises at the high end. Less common at beginner price points.
Rotary vise: The jaws rotate 360 degrees around the hook's axis, letting you turn the fly as you work rather than repositioning your hands. Particularly useful for palmering hackle and wrapping bodies evenly. Worth investing in from the start — once you've used a rotary vise you'll never go back.
Mounting Options
C-clamp mount: Clamps to the edge of a table. Stable, adjustable height, takes up no permanent space. The standard choice for most tyers.
Pedestal base: A weighted base that sits on the table without clamping. More portable and doesn't require a table edge, but can shift slightly under heavy use.
Vise Recommendations by Budget
Budget ($30–$60): Fly Tying Starter Vises from Orvis, Danvise Starter, or Dr. Slick entry-level vises. Functional, adequate for learning. Cam jaw, c-clamp mount. Will handle standard hook sizes well.
Mid-range ($60–$150): Renzetti Traveler, Danvise Standard, Peak Rotary. A significant step up in build quality and jaw precision. The Renzetti Traveler is one of the most recommended beginner-to-intermediate vises available — rotary, well-built, and lasts years.
Intermediate ($150–$300): Renzetti Presentation, HMH Standard, Nor-Vise. Premium materials, precise jaw alignment, smooth rotation. Worth the investment if you plan to tie seriously.
Note on cheap vises: A very cheap vise (under $20 from an unknown brand) will have imprecise jaws that don't grip hooks reliably and may damage hook points. It makes tying frustrating. The Renzetti Traveler at around $100 is the most commonly recommended entry point for tyers who want a vise they won't need to replace.
The Bobbin
The bobbin holds your thread spool and controls the tension and delivery of thread as you wrap. Without a bobbin you'd be trying to wrap thread directly from the spool — unwieldy and imprecise.
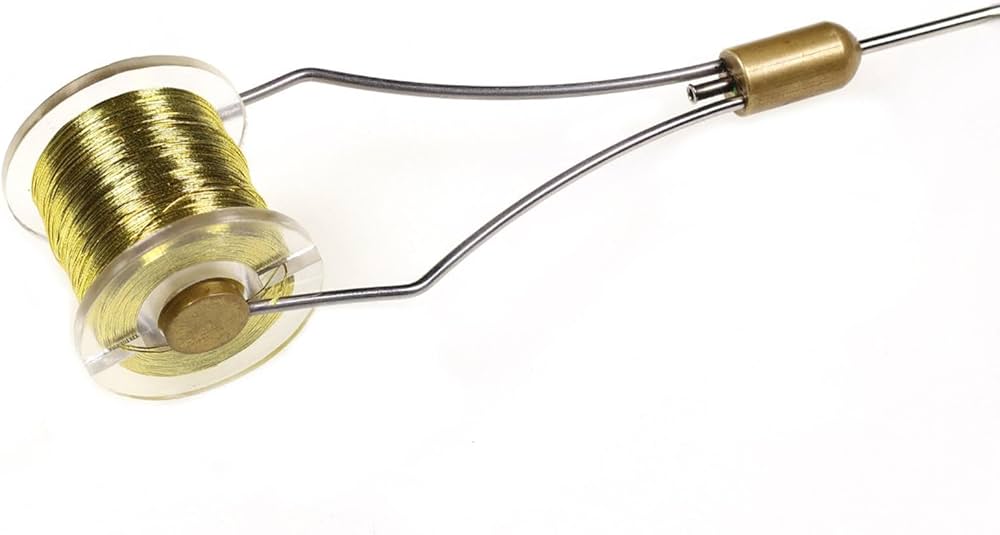
How a Bobbin Works
The spool of thread sits between two arms, held under tension. Thread feeds through a tube (the barrel) which you use to direct wraps precisely onto the hook. The tension of the arms against the spool prevents thread from unspooling uncontrollably between wraps.
What to Look For
Ceramic tube insert: A ceramic-lined barrel prevents the thread from being cut by a sharp metal edge. Essential — a bobbin without a ceramic insert will eventually cut your thread at the worst possible moment. Look for this on any bobbin you buy.
Correct tension: The bobbin arms should hold the spool firmly enough that thread doesn't unspool freely, but not so tightly that you're fighting the bobbin to draw thread. Most bobbins have slightly adjustable tension via the arm spread.
Tube length: Standard bobbins have a tube around 3–4 inches long. Shorter tubes give more control for fine work; longer tubes are easier to manage when starting out.
Bobbin Recommendations
Budget ($8–$15): Dr. Slick Standard Bobbin, Orvis Presentation Bobbin. Both have ceramic inserts and are reliable for general tying.
Mid-range ($15–$30): Umpqua, Stonfo, Nor-Vice bobbins. Better build, smoother thread feed, more precise tension control.
How many to own: Start with two or three bobbins loaded with the thread colours you use most (black, olive, tan). Switching thread colours mid-session is much faster with pre-loaded bobbins than re-threading a single one.
Scissors
Fly tying scissors need to be sharp, precise, and comfortable to hold for extended sessions. Standard household scissors are too large and too blunt — they crush rather than cut fine materials and make clean, precise trimming impossible.
What to Look For
Fine, pointed tips: Essential for cutting thread close to the hook, trimming individual hackle fibres, and working in tight spaces. Blunt-tipped scissors are almost useless for fly tying.
Sharp blades all the way to the tip: The tip is where most fly tying cuts happen. Test scissors by cutting a single strand of thread at the very tip — if they don't cut cleanly there, they're not suitable.
Comfortable grip: You'll open and close your scissors hundreds of times per session. Comfort matters. Most tyers keep their scissors looped around a finger permanently while tying.
Serrated vs straight blades: Serrated blades grip slippery synthetic materials better. Straight blades give cleaner cuts on thread and natural materials. Having one of each is ideal; start with straight blades.
Scissors Recommendations
Budget ($10–$20): Dr. Slick Standard Scissors, Orvis Fly Tying Scissors. Both are sharp, pointed, and adequate for most tying.
Mid-range ($20–$40): Anvil, Loon, Renzetti scissors. Notably sharper and better finished than budget options. Worth the upgrade if you tie regularly.
Important: keep your fly tying scissors for fly tying only. Cutting wire, lead, and other hard materials destroys the blades. Buy a second cheap pair for cutting materials that will blunt scissors quickly.
Hackle Pliers
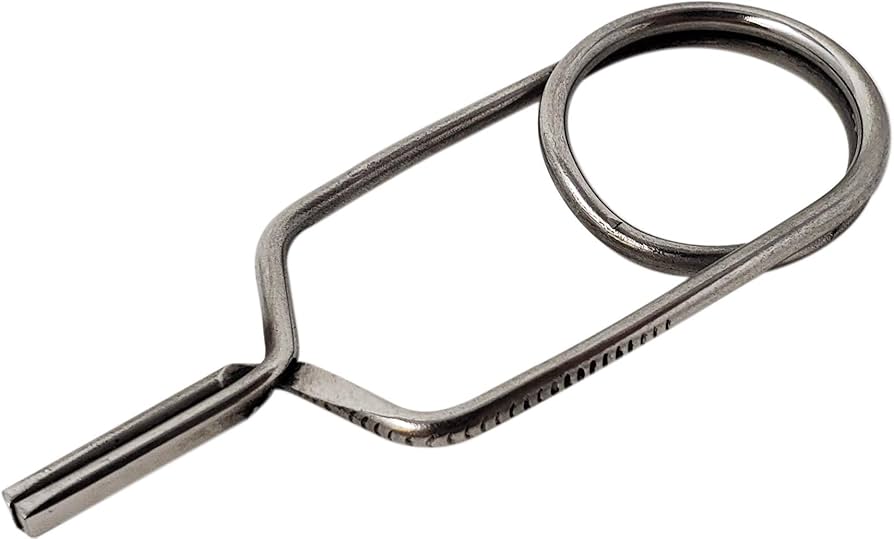
Hackle pliers are small spring-loaded clamps used to grip the tip of a feather while you palmer (wrap) it around the hook. Without them, gripping a small hackle feather tip with your fingers — especially when wet — is frustratingly difficult.
How They Work
Open the jaws, clip them onto the tip of the hackle feather, and use the pliers as a handle to wrap the feather around the hook in even turns. The spring tension holds the feather securely without tearing it.
Types of Hackle Pliers
Standard loop pliers: A simple metal loop with spring tension. The classic design. Work well for most applications.
English-style hackle pliers: Wider jaws, better grip on larger feathers. The standard choice for most tyers.
Rotary hackle pliers: Designed to spin freely as you wrap, reducing torque on the feather. Useful for palmering long hackles.
Hackle Pliers Recommendations
Budget ($5–$10): Dr. Slick Standard Hackle Pliers. Functional and reliable — this is one tool where budget options perform well.
Mid-range ($10–$20): Stonfo, Umpqua English-style pliers. Better grip, less likely to slip on wet feathers.
Tip: buy two pairs. They're inexpensive and having a spare when one goes missing (they always do) saves frustration.
The Whip Finisher
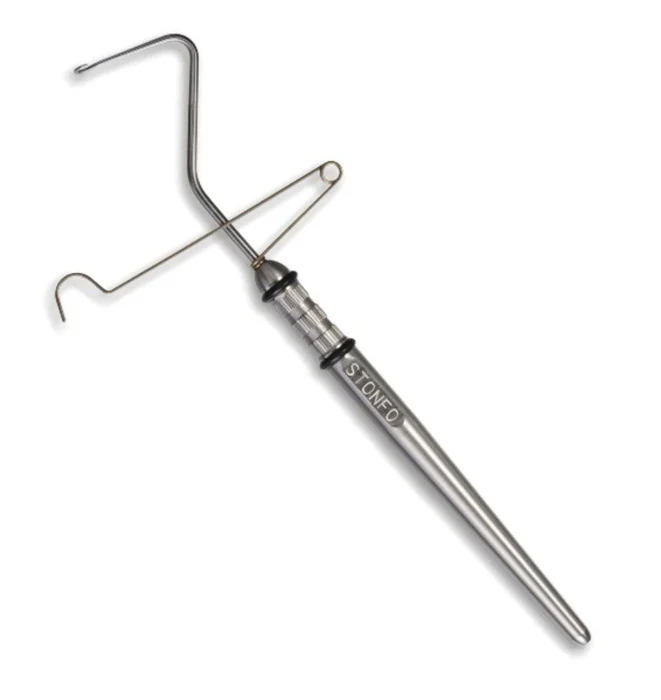
Source: theflyfisher.com.au
The whip finish is the knot that secures your thread at the end of every fly. It wraps several thread loops over each other to create a locked, slip-proof finish — without it, the thread head will unravel the moment you cut the thread.
A whip finisher is a small tool that performs this knot mechanically, consistently, and quickly. You can learn to whip finish by hand (and many tyers do), but the tool makes it faster and more reliable.
How It Works
The whip finisher has a notched hook and a rotating arm. You loop the thread onto the tool, position it against the hook head, and rotate the handle to wrap the thread loops. After four or five wraps, a simple motion locks and releases the knot. With practice it takes about ten seconds.
Learning the Whip Finish
The whip finisher has a small learning curve — it feels awkward the first few times. Watch a short tutorial video (search "how to use a whip finisher" on YouTube) before your first session. Within a few flies it becomes second nature.
Whip Finisher Recommendations
Budget ($6–$12): Tiemco or Dr. Slick standard whip finishers. Both work well and are the tools most beginners learn on.
Mid-range ($12–$25): Nor-Vise, Matarelli whip finishers. The Matarelli is considered the gold standard by many experienced tyers — smooth, reliable, lasts forever.
Alternative: the half-hitch tool is a simpler alternative to the whip finisher — it ties a series of half-hitch knots rather than a whip finish. Less secure than a proper whip finish but functional for learning. Most whip finishers double as half-hitch tools.
Head Cement and UV Resin
The final step on every fly is sealing the thread head to prevent it unravelling and to give a clean, durable finish. Two options:
Head Cement
A thin, solvent-based lacquer applied with a brush or bodkin to the finished thread head. Soaks into the thread wraps and hardens, locking everything in place. Fast-drying versions are available. Affordable and effective — a small bottle lasts a long time.
Recommended: Loon Hard Head, Solarez Bone Dry, or standard fly tying head cement from any major brand. Cost: $5–$12.
UV Resin
A thicker, gel-like resin that cures instantly when exposed to UV light (from a small UV torch). More versatile than head cement — can be used to build up bodies, coat materials, and create smooth, glossy heads. Requires a UV torch to cure.
Recommended: Loon UV Flow, Solarez Thin Hard, or Deer Creek Diamond UV. UV torch: $10–$20. Resin: $8–$15.
Which to start with: head cement is simpler and cheaper. Add UV resin once you're comfortable with the basics and want more versatility.
Useful Additions
These tools aren't essential for your first flies but become genuinely useful as your tying develops:
Bodkin / Dubbing Needle
A needle mounted in a handle. Used for applying head cement precisely, picking out dubbing fibres, separating materials, and clearing the hook eye of thread. Inexpensive and useful enough to include in a starter kit. Cost: $5–$10.
Hair Stacker
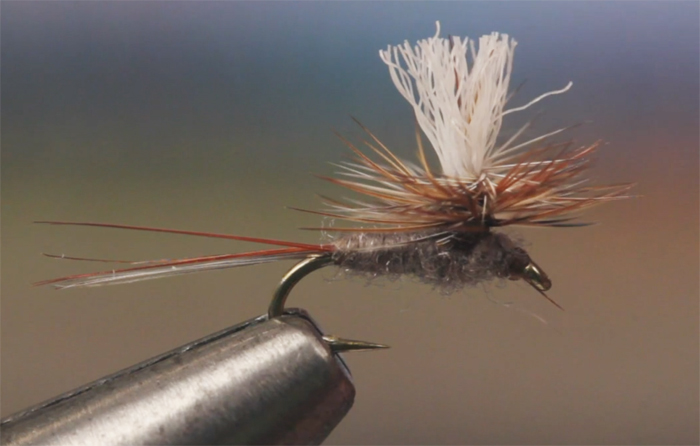
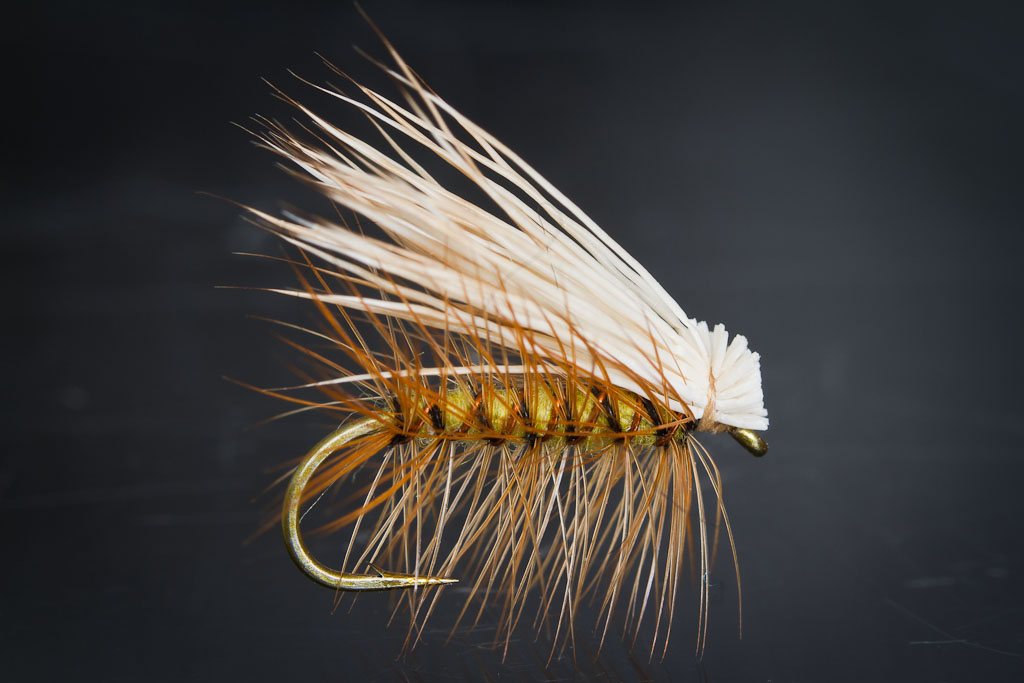
A small cylindrical tool for aligning the tips of deer hair, elk hair, and similar materials before tying them in. Essential for flies like the Elk Hair Caddis where even, aligned tips are important for the fly's appearance and performance. Cost: $8–$15.
Dubbing Twister / Spinner
Used to spin dubbing onto a thread loop, creating a tight dubbing brush that wraps around the hook for a fuller, more textured body. More advanced technique — not needed for your first flies but very useful for nymph bodies. Cost: $8–$20.
Whip Finish by Hand
Not a tool, but a skill worth learning alongside the tool. Hand whip finishing gives you a backup when your tool isn't available and a better feel for what the knot is doing. Search "hand whip finish fly tying" on YouTube for a short tutorial.
Material Clip / Third Hand
A spring clip that attaches to the vise and holds materials out of the way while you work with thread. Small but surprisingly useful when working with multiple materials simultaneously. Cost: $5–$10.
Bobbin Threader
A fine wire loop for threading the bobbin tube — useful when re-threading after a thread break. Often included with bobbins or sold for $2–$5. Worth having.
Tools You Don't Need Yet
A few tools you'll see in fly shops and online that are not worth buying as a beginner:
Electric bobbin: Motorised thread tension control. Expensive and unnecessary — a standard bobbin does the same job.
Rotary material clip: Useful for advanced rotary tying techniques. Not needed until you're comfortable with basic patterns.
Specialty scissors (curved, serrated, razor): A good pair of straight-bladed scissors handles everything a beginner needs. Specialty scissors come later for specific techniques.
Magnification systems: Useful for very small flies (size 22 and below). Not needed for the size 6–14 patterns beginners start with.
Dubbing wax: Helps synthetic dubbing adhere to thread. Useful but not essential — most natural dubbing materials stick to thread adequately without it.
Starter Kit Recommendations by Budget
The Bare Minimum ($60–$100)
Everything you need to tie your first flies:
- Vise: Entry-level cam vise with c-clamp (~$35)
- Bobbin: Dr. Slick Standard with ceramic insert (~$10)
- Scissors: Dr. Slick fine-point scissors (~$12)
- Hackle pliers: Standard loop pliers (~$6)
- Whip finisher: Tiemco standard (~$8)
- Head cement: Loon Hard Head (~$8)
- Bodkin: Basic dubbing needle (~$5)
The Recommended Starter Kit ($150–$200)
A setup you won't outgrow quickly:
- Vise: Renzetti Traveler rotary vise (~$100)
- Bobbins (×2): Dr. Slick or Umpqua with ceramic inserts (~$20)
- Scissors: Mid-range fine-point + budget second pair (~$30)
- Hackle pliers (×2): English-style (~$15)
- Whip finisher: Matarelli or Nor-Vise (~$15)
- Head cement + UV resin starter kit: (~$20)
- Bodkin + hair stacker: (~$15)
Pre-Built Starter Kits
Several brands sell complete fly tying tool kits at beginner-friendly prices. These are good value if you want everything in one purchase:
- Orvis Fly Tying Tool Kit (~$60) — covers all the essentials, good quality for the price
- Cortland Fly Tying Starter Kit (~$50) — functional entry-level set
- Loon Core Tool Kit (~$80) — higher quality tools, well-regarded in the tying community
Caveat on pre-built kits: the vise included in most budget kits is usually the weakest component. If your budget allows, buy the kit for the smaller tools and upgrade the vise separately to a Renzetti Traveler or equivalent.
🎣 Log which flies you tied and how they performed. Tracking your tying sessions alongside your fishing sessions on Flyloops tells you which patterns you tied actually catch fish — and which ones to stop tying. Start your free logbook →
Frequently Asked Questions
How much does it cost to get started with fly tying? A functional beginner setup — vise, bobbin, scissors, hackle pliers, whip finisher, and head cement — can be put together for $60–$100. A recommended mid-range kit that you won't outgrow runs $150–$200. Add materials (hooks, thread, feathers, chenille) for another $50–$80 and you're ready to tie your first flies.
Do I need an expensive vise to start fly tying? No, but avoid the very cheapest options. A vise under $20 from an unknown brand will have imprecise jaws that make tying frustrating. The Renzetti Traveler at around $100 is the most widely recommended entry-to-intermediate vise — it's rotary, well-built, and will last years. If budget is tight, a $35–$50 cam vise from a reputable brand is a reasonable starting point.
What is the most important fly tying tool? The vise. Everything else is secondary. A good vise holds the hook securely, doesn't damage hook points, and lets you work without fighting your equipment. Invest here before anywhere else.
Can I use regular scissors for fly tying? Household scissors are generally too large and too blunt for fly tying. You need fine-pointed, sharp scissors that cut cleanly at the very tip. A basic pair of fly tying scissors costs $10–$15 and makes a significant difference to the quality and ease of your tying.
What is a rotary vise and do I need one? A rotary vise allows the jaws — and the fly — to spin 360 degrees around the hook's axis. This lets you rotate the fly as you work rather than repositioning your hands, which is particularly useful for palmering hackle and wrapping bodies evenly. It's not essential for beginners but is worth investing in from the start if your budget allows — most tyers who try rotary don't go back.
What's the difference between head cement and UV resin? Head cement is a thin lacquer that soaks into thread wraps and hardens. UV resin is a thicker gel that cures instantly under UV light and is more versatile — it can build up bodies and create glossy finishes as well as sealing heads. Start with head cement for simplicity; add UV resin as your tying develops.
How long does it take to learn to use fly tying tools? The basic tools — vise, bobbin, scissors, hackle pliers — are intuitive within a session or two. The whip finisher has a small learning curve but becomes natural within a few flies. Watch a short YouTube tutorial for each tool before you start and the learning curve is minimal.
Should I buy tools individually or as a kit? A pre-built kit is convenient and generally good value for the smaller tools (scissors, bobbin, hackle pliers, whip finisher). The vise included in most budget kits is usually the weakest link — if your budget allows, buy the kit for the ancillary tools and purchase the vise separately.
Ready to start tying? Check out our step-by-step guide to tying your first Woolly Bugger — the perfect first pattern for any beginner tier.